The new car seat rules suggest that children in a car seat cannot wear a winter coat, so a few years back, somebody (not me!) looked at an old poncho from the 1970s and said, “Hey! If we add a hood to this, it will keep my kid warm in the car seat!”
It was a brilliant idea, but I cannot claim credit, as it was not my brilliant idea. At that time, it was not a concern in my world. MY kids wore heavy snowsuits in their metal-framed car seat, but modern car seats are different.
Fast-forwarding to today, the need for a carseat poncho is now real.
I looked at a few different sets of instructions available on line, and cobbled them together into a construction method that made sense for my brain. I am not offering these ponchos “for sale” but this is how you can make your own.
Sadly, I have not ever figured out how to make money off any of the “links” but you are welcome to use them if you need to order fabric. (I often see this weird disclaimer on plenty of blogs that states something to the order of “we make money if you shop from our affiliate links”) Clearly I am doing it wrong — fabric stores just TAKE all my money, they never send any to me!
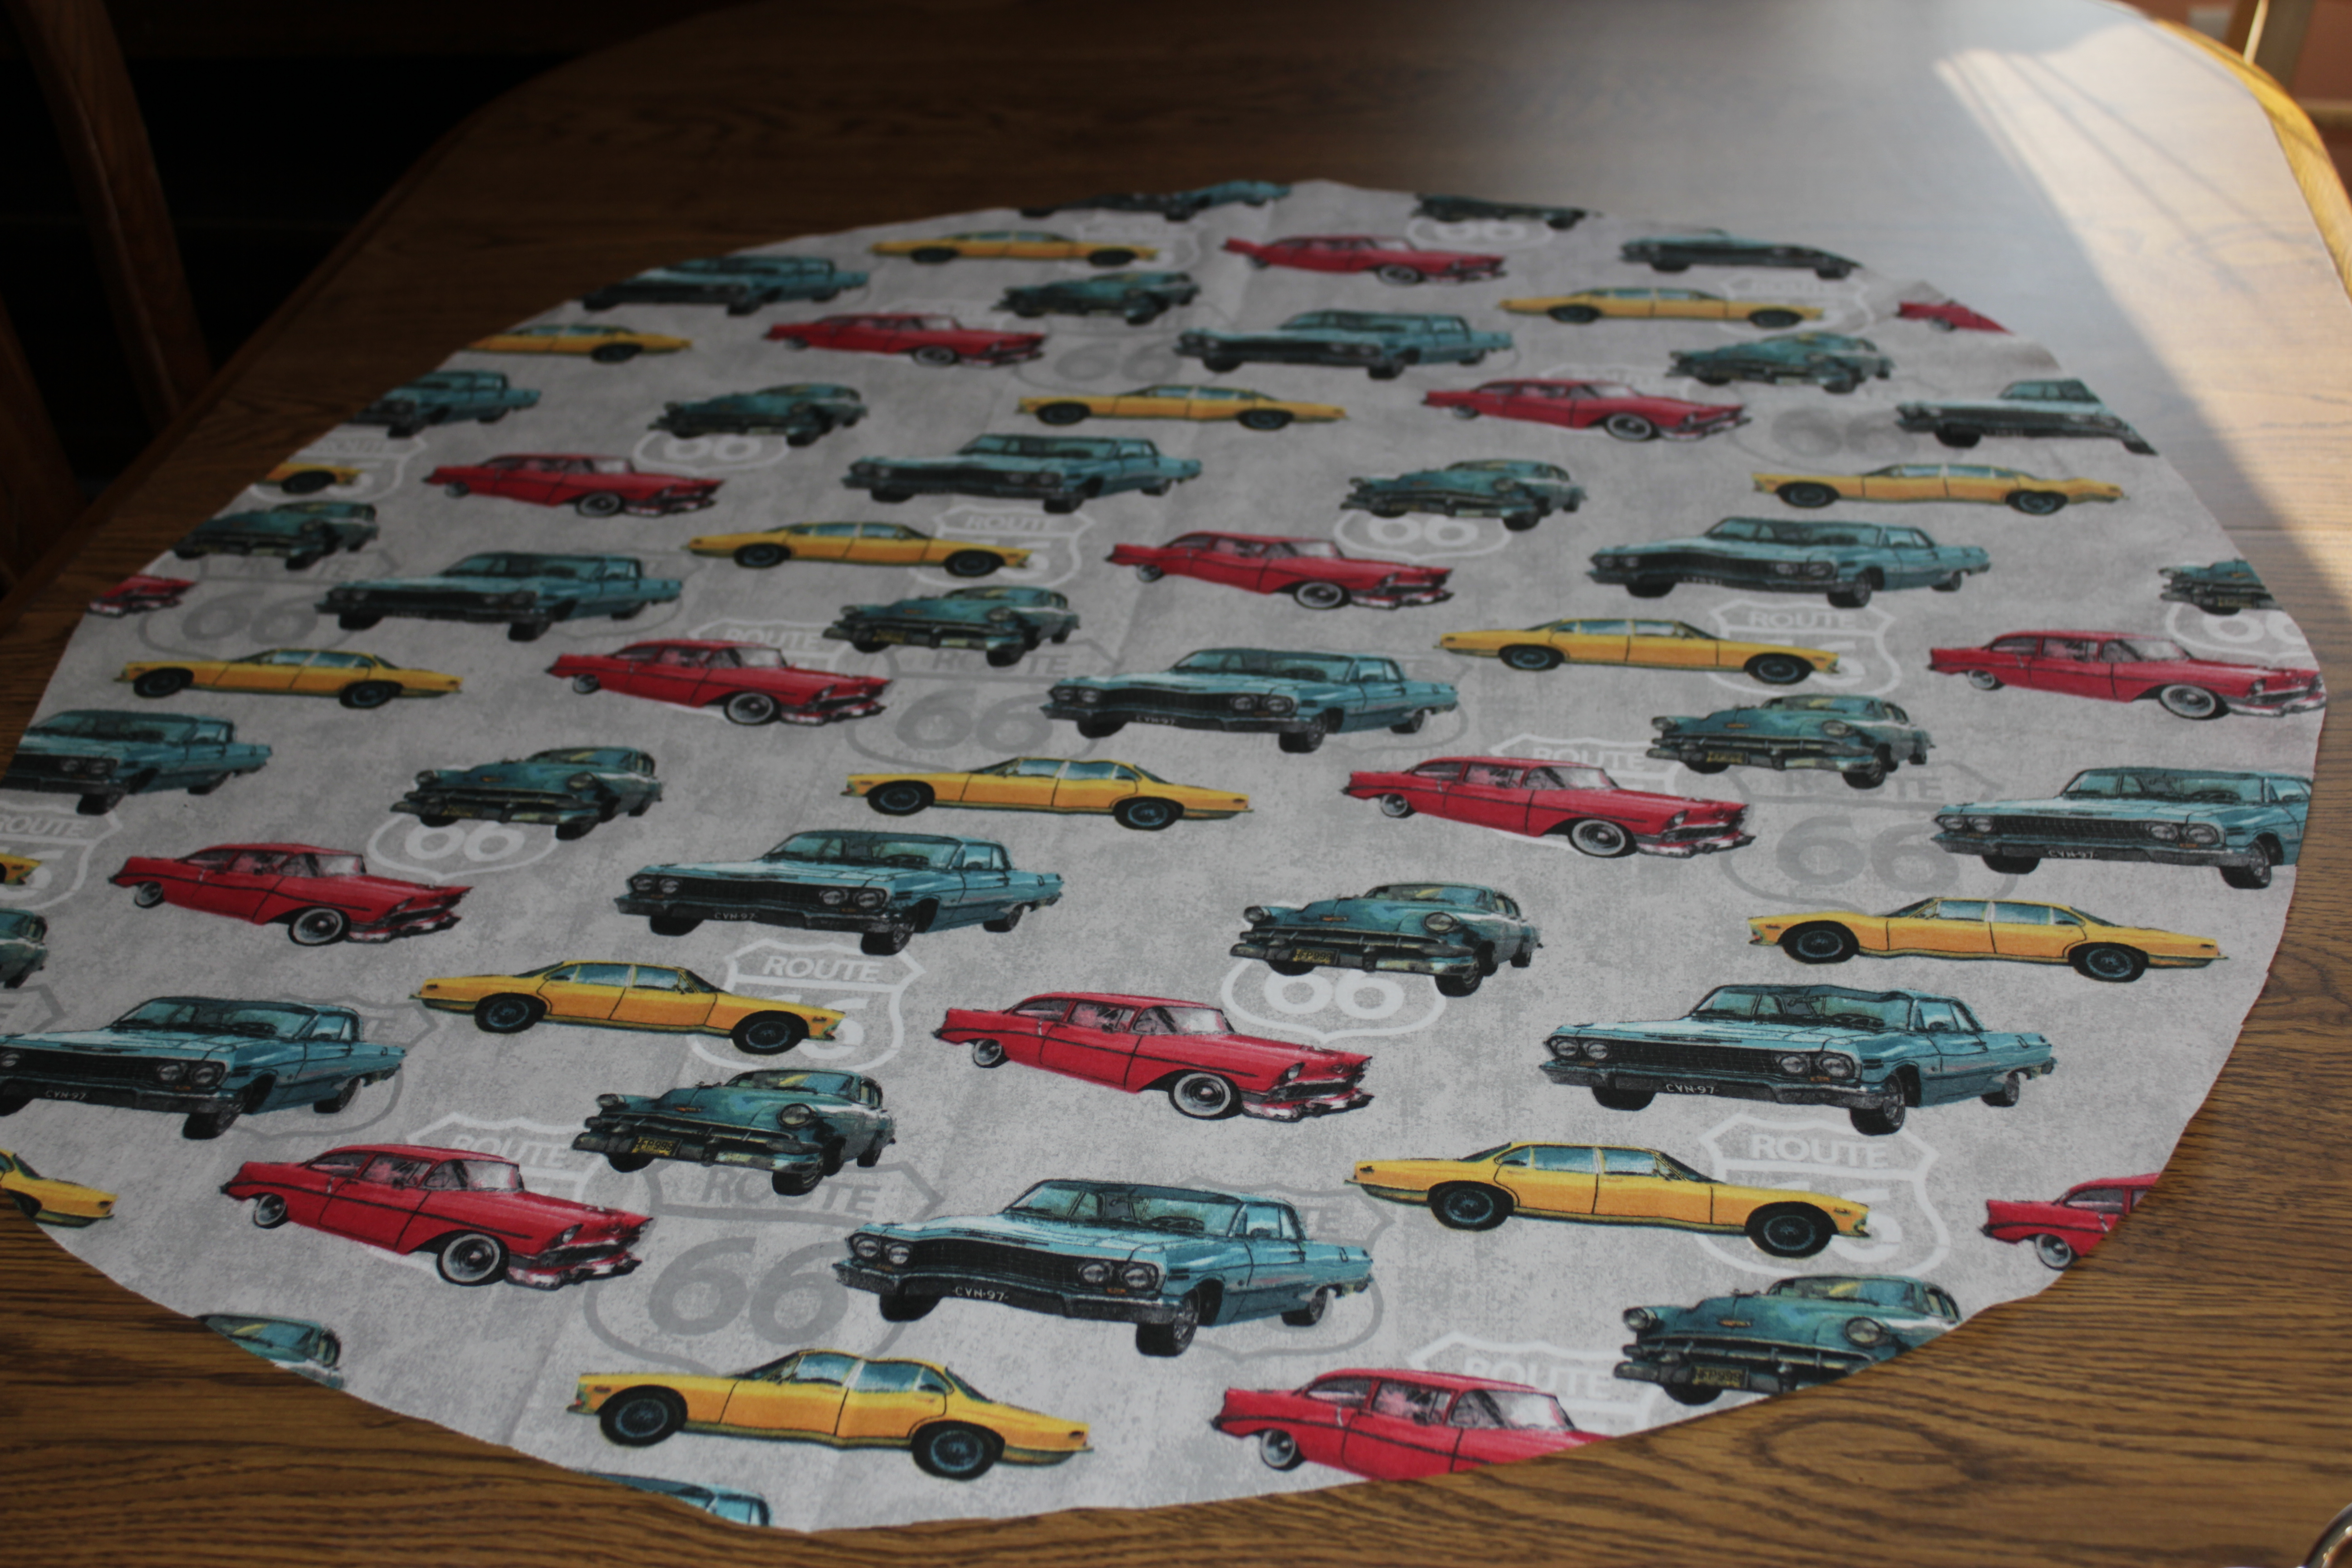
I got the muscle car fabric and the fleece from JoAnn Fabrics
https://www.joann.com/
The fabric selection changes quite often, so I cannot promise the same muscle cars are still there, but you will find something that fits your child!
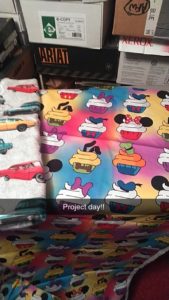
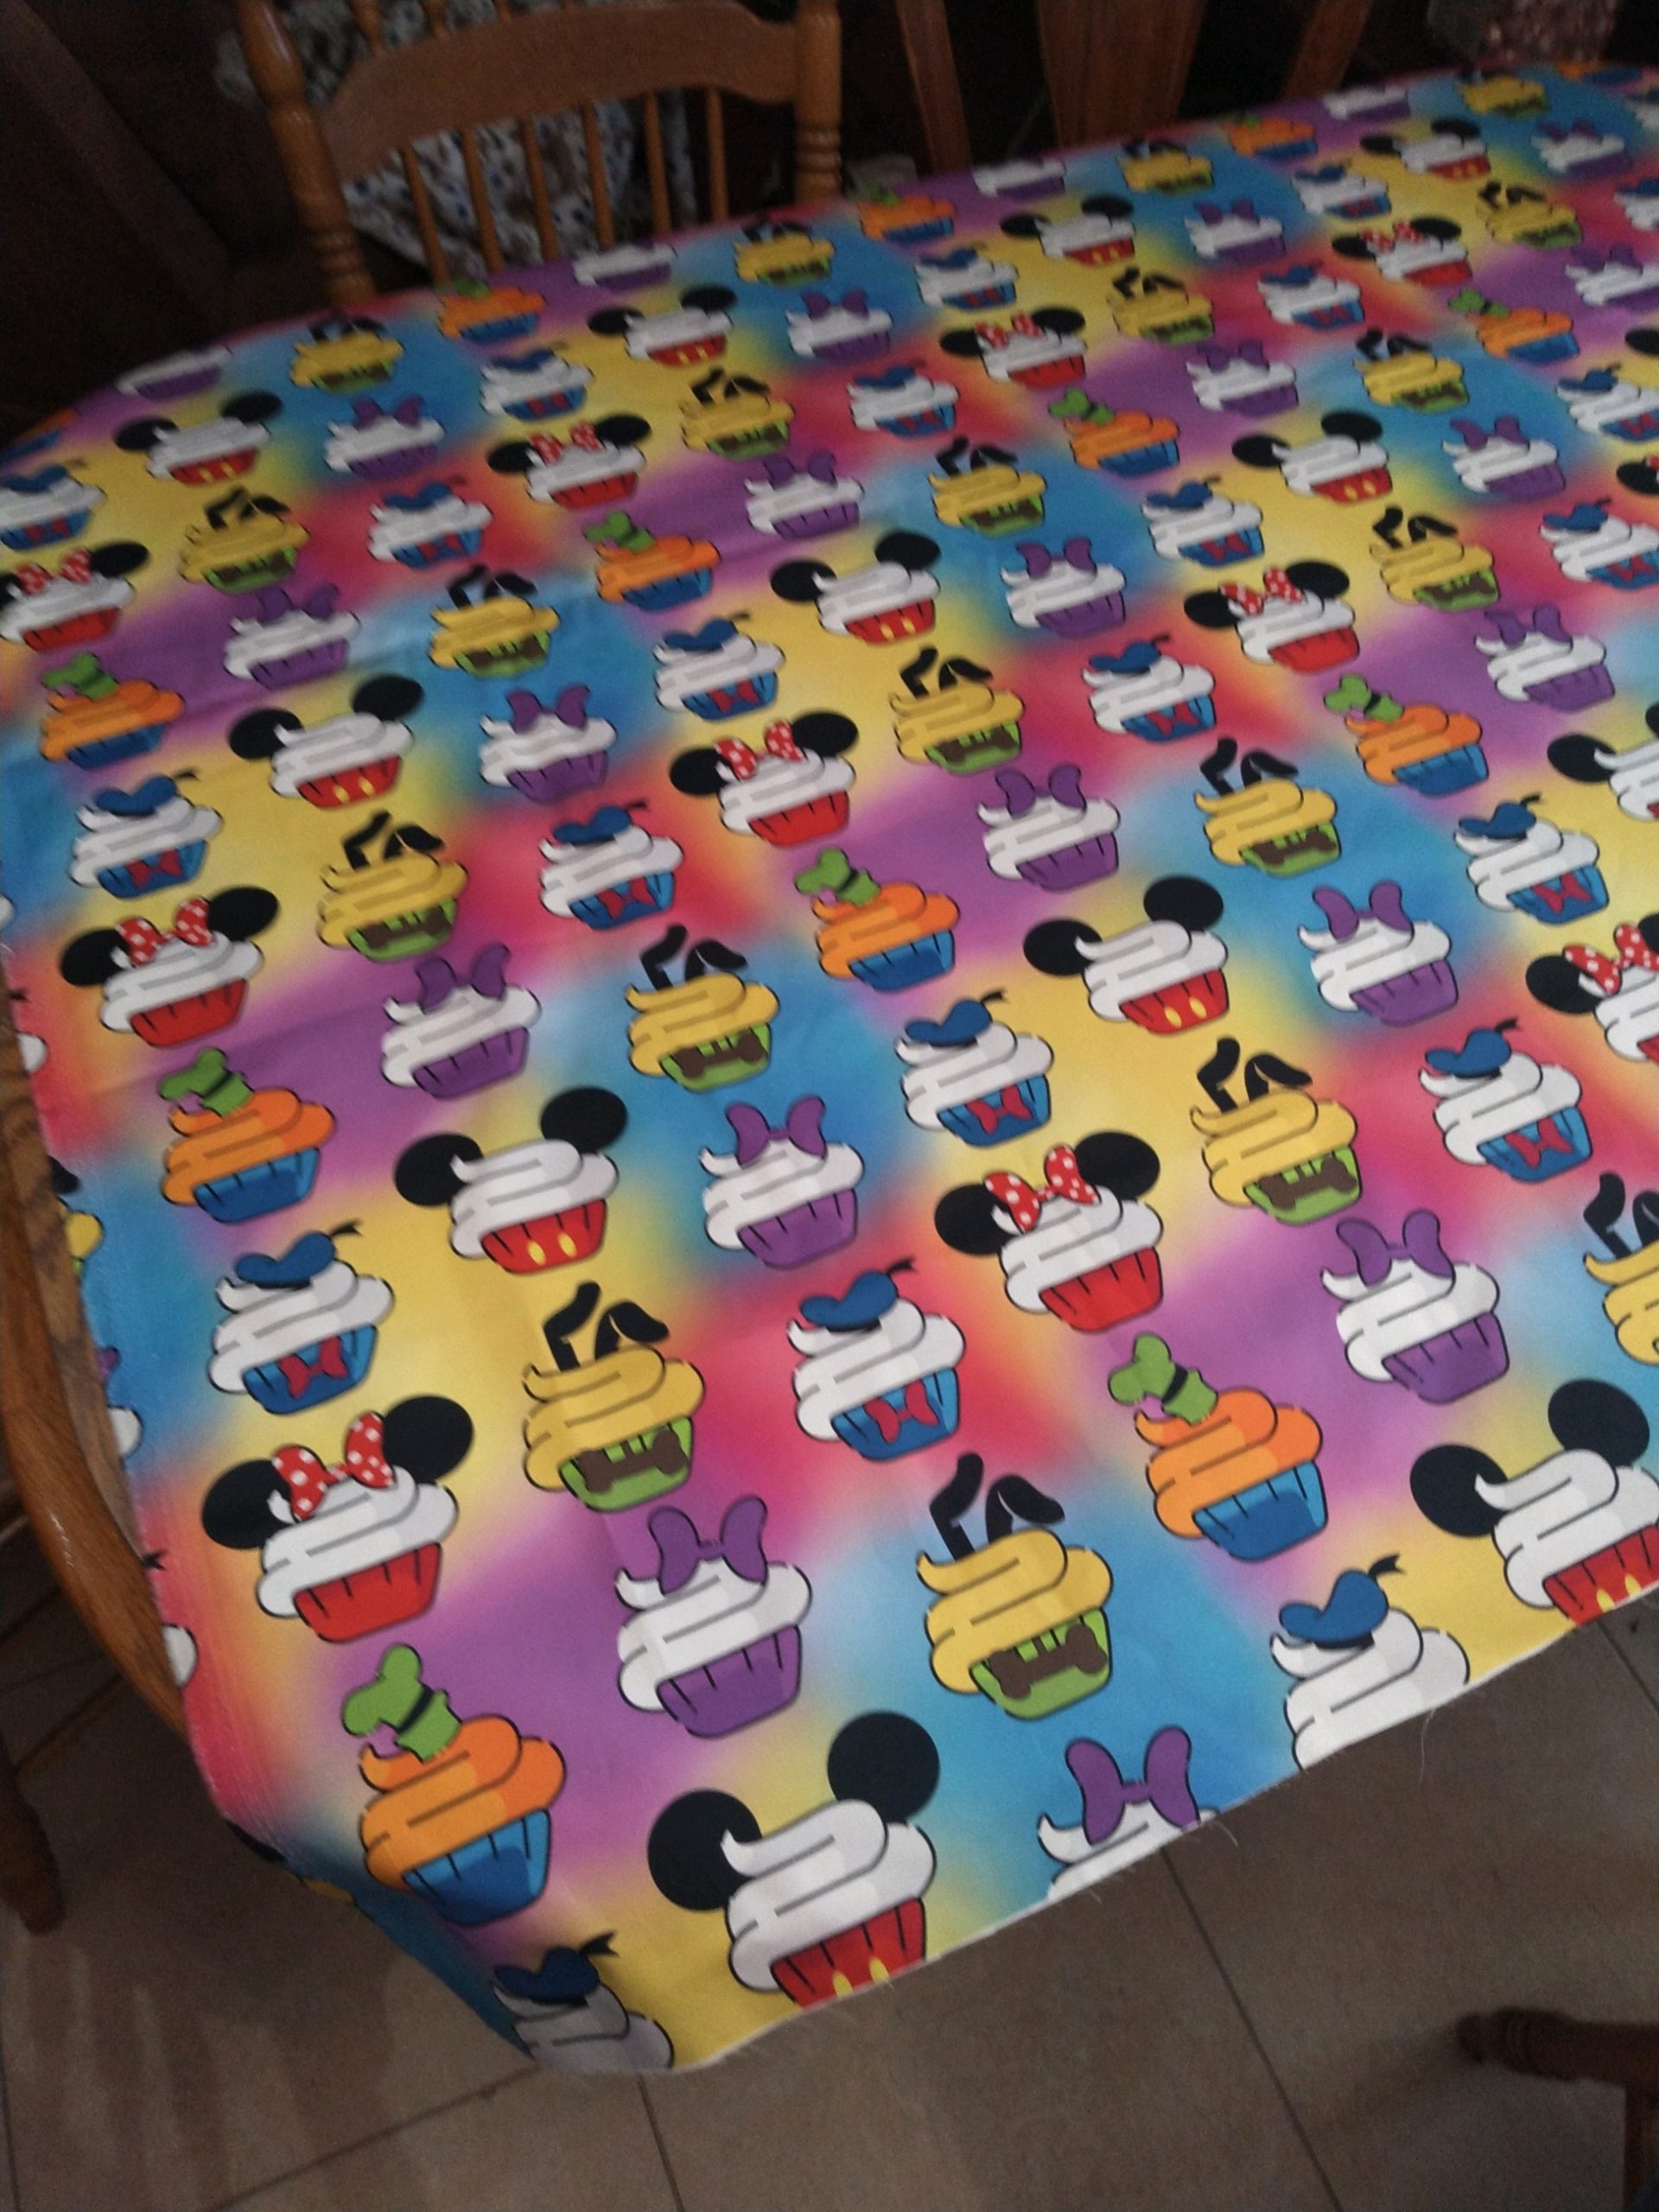
I got the cupcake fabric from Seweird Fabrics
https://seweird.com/
It was the perfect fabric for the child that adores that well-known mouse!

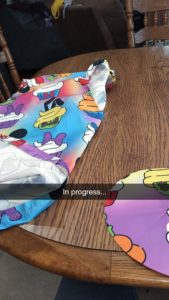
I had the silly idea that I could whip up two of these in one afternoon. It did not work out that way in the end.
The final fitting will require the actual child to be present – there is a possibility the hood might need made smaller and the neckline might need to be larger. Both adjustments are simple, but it is much easier to make the hood “smaller” than it would be to make it larger, and the reverse is true for the neckline!
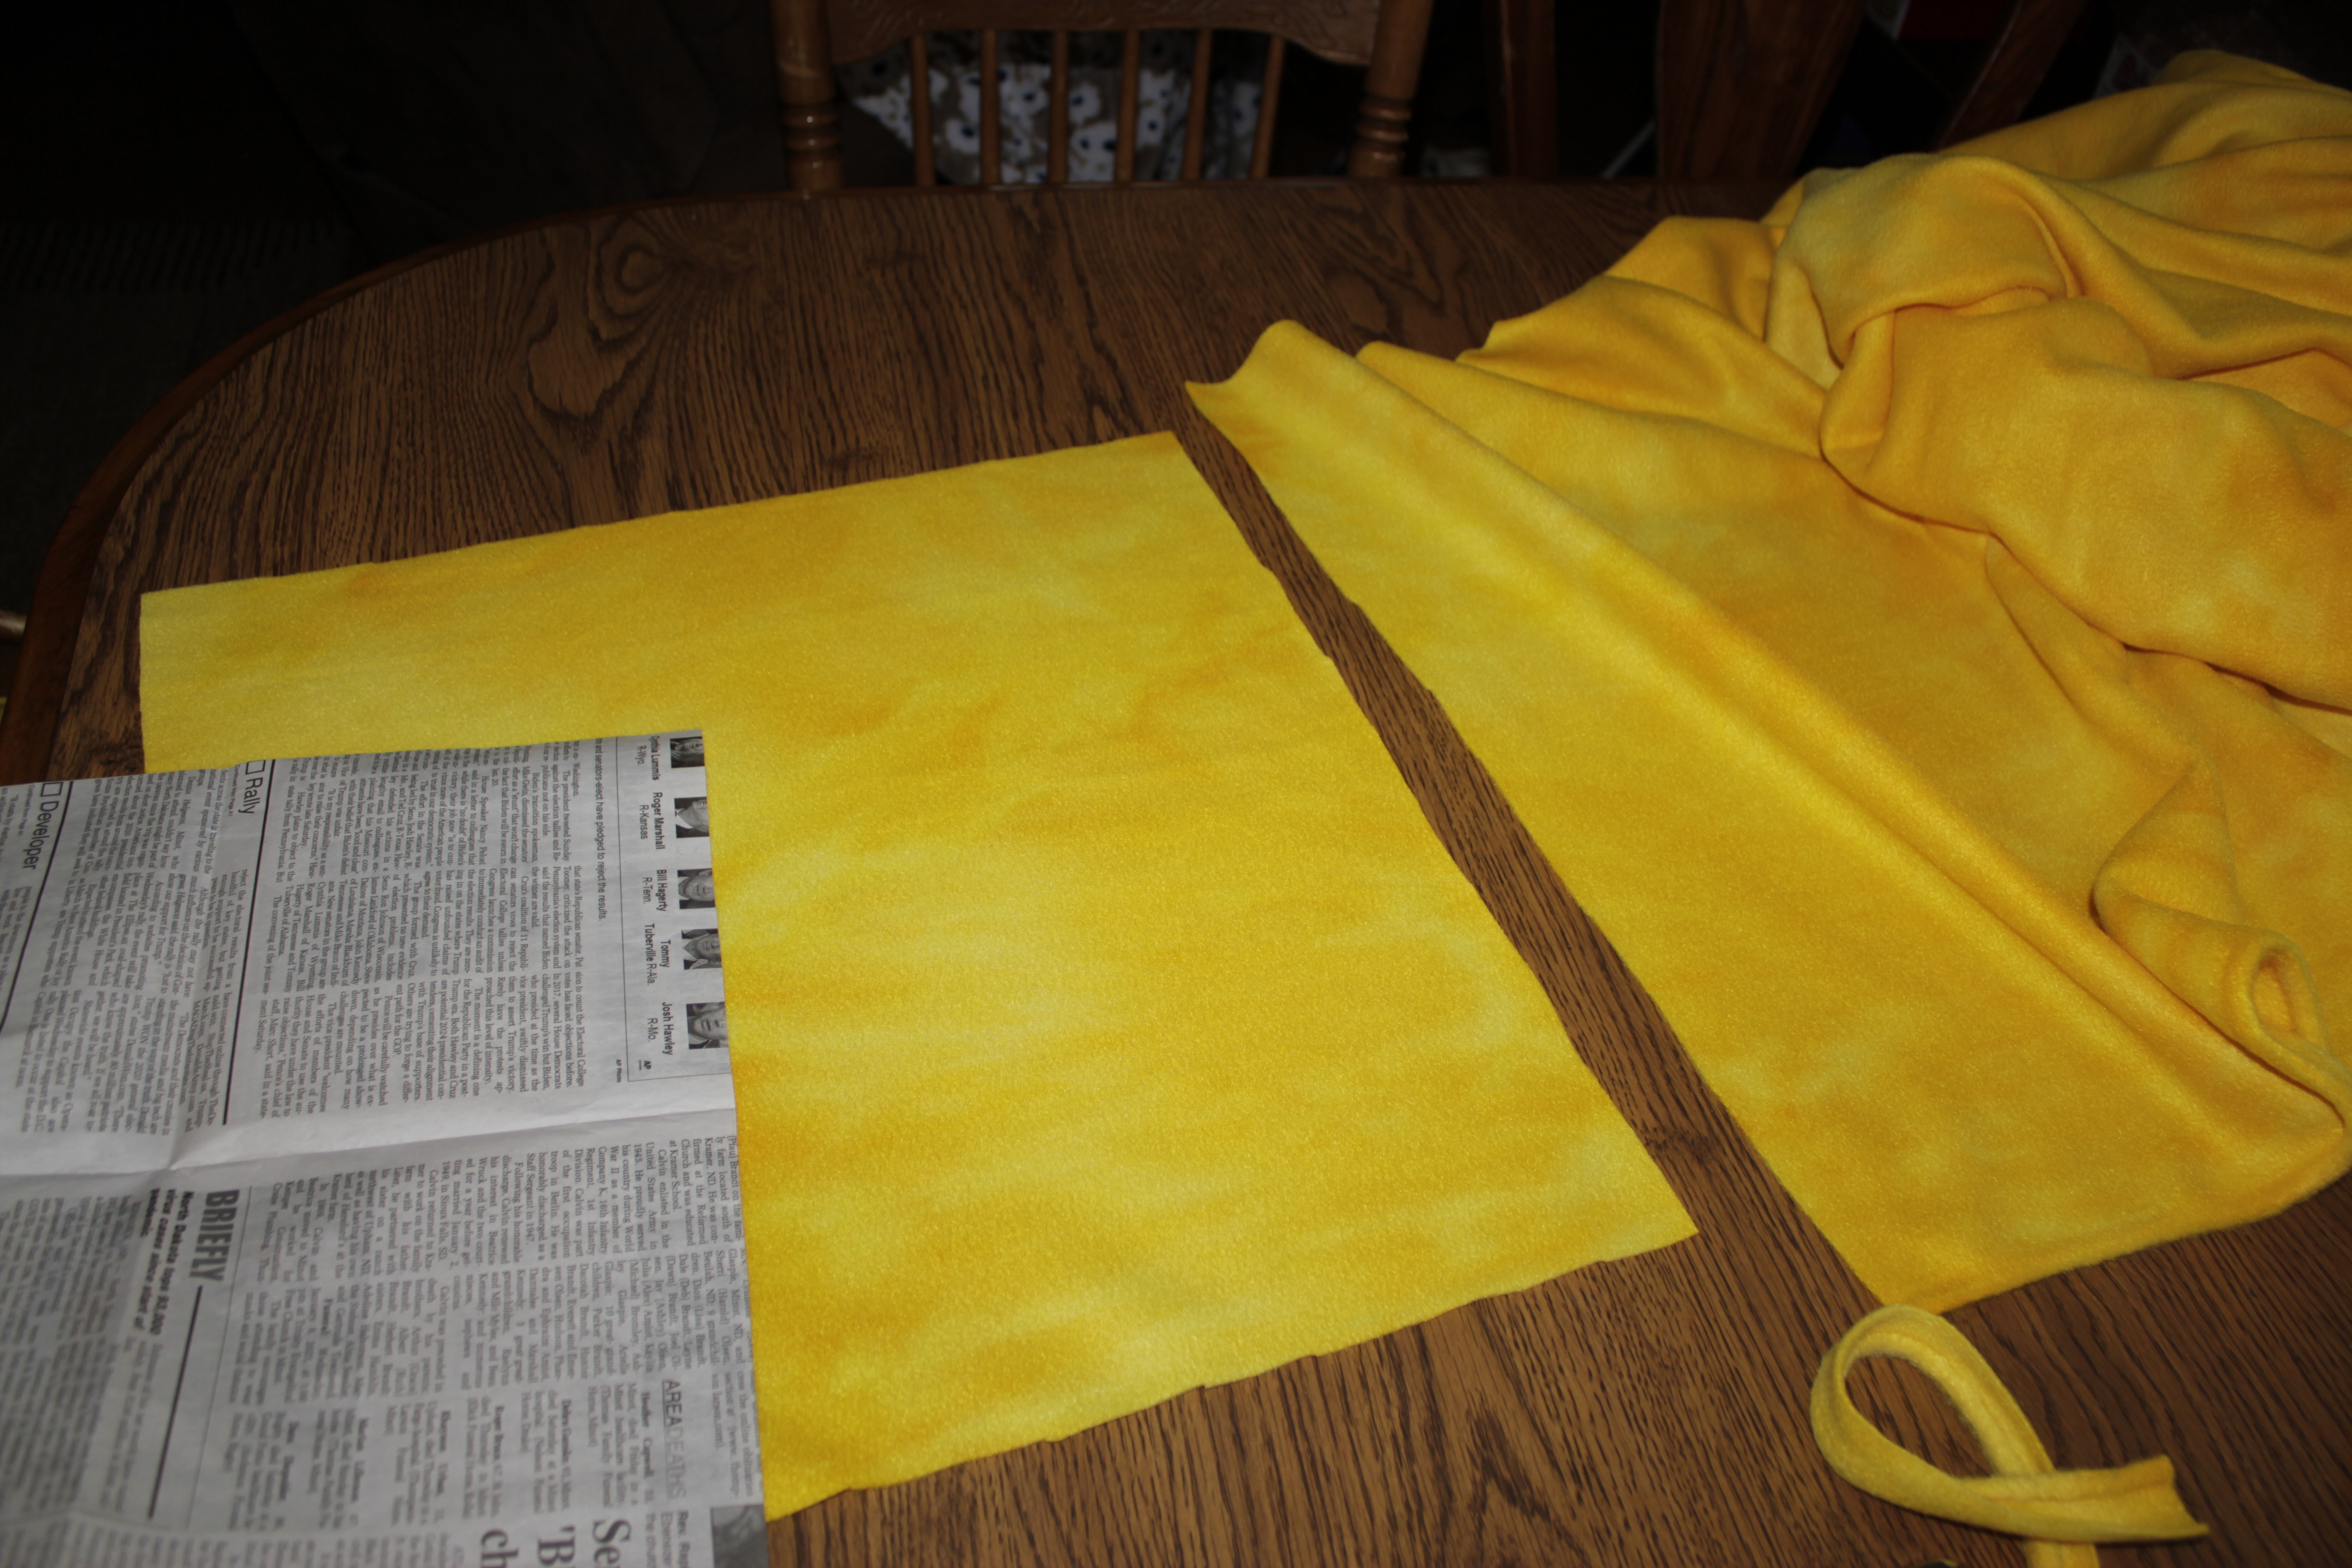
Step one is to cut a square yard – a single yard of fabric is not a “square yard” because the fabric width is not always exactly 36 inches. As neither fabric was exactly 36 inches wide, I used my trusty yardstick to measure.
Fancy seamstresses have this super duper cutting table and fancy grids and mats and a rotary cutter. I have a yardstick and a dining room table and good sharp scissors.
LOL
No fancy equipment needed for this project!
Fold the fabric square in half crosswise, then fold it in half lengthwise. Fold the square in half to be a triangle. At this point, all of the loose corners will be touching. Round off the base of that triangle to make a big circle.
(cheaters tip: if that idea does not make sense, try folding a piece of scrap paper according to these instructions and cutting it. practicing on scratch paper is much cheaper than practicing on your good fabric!)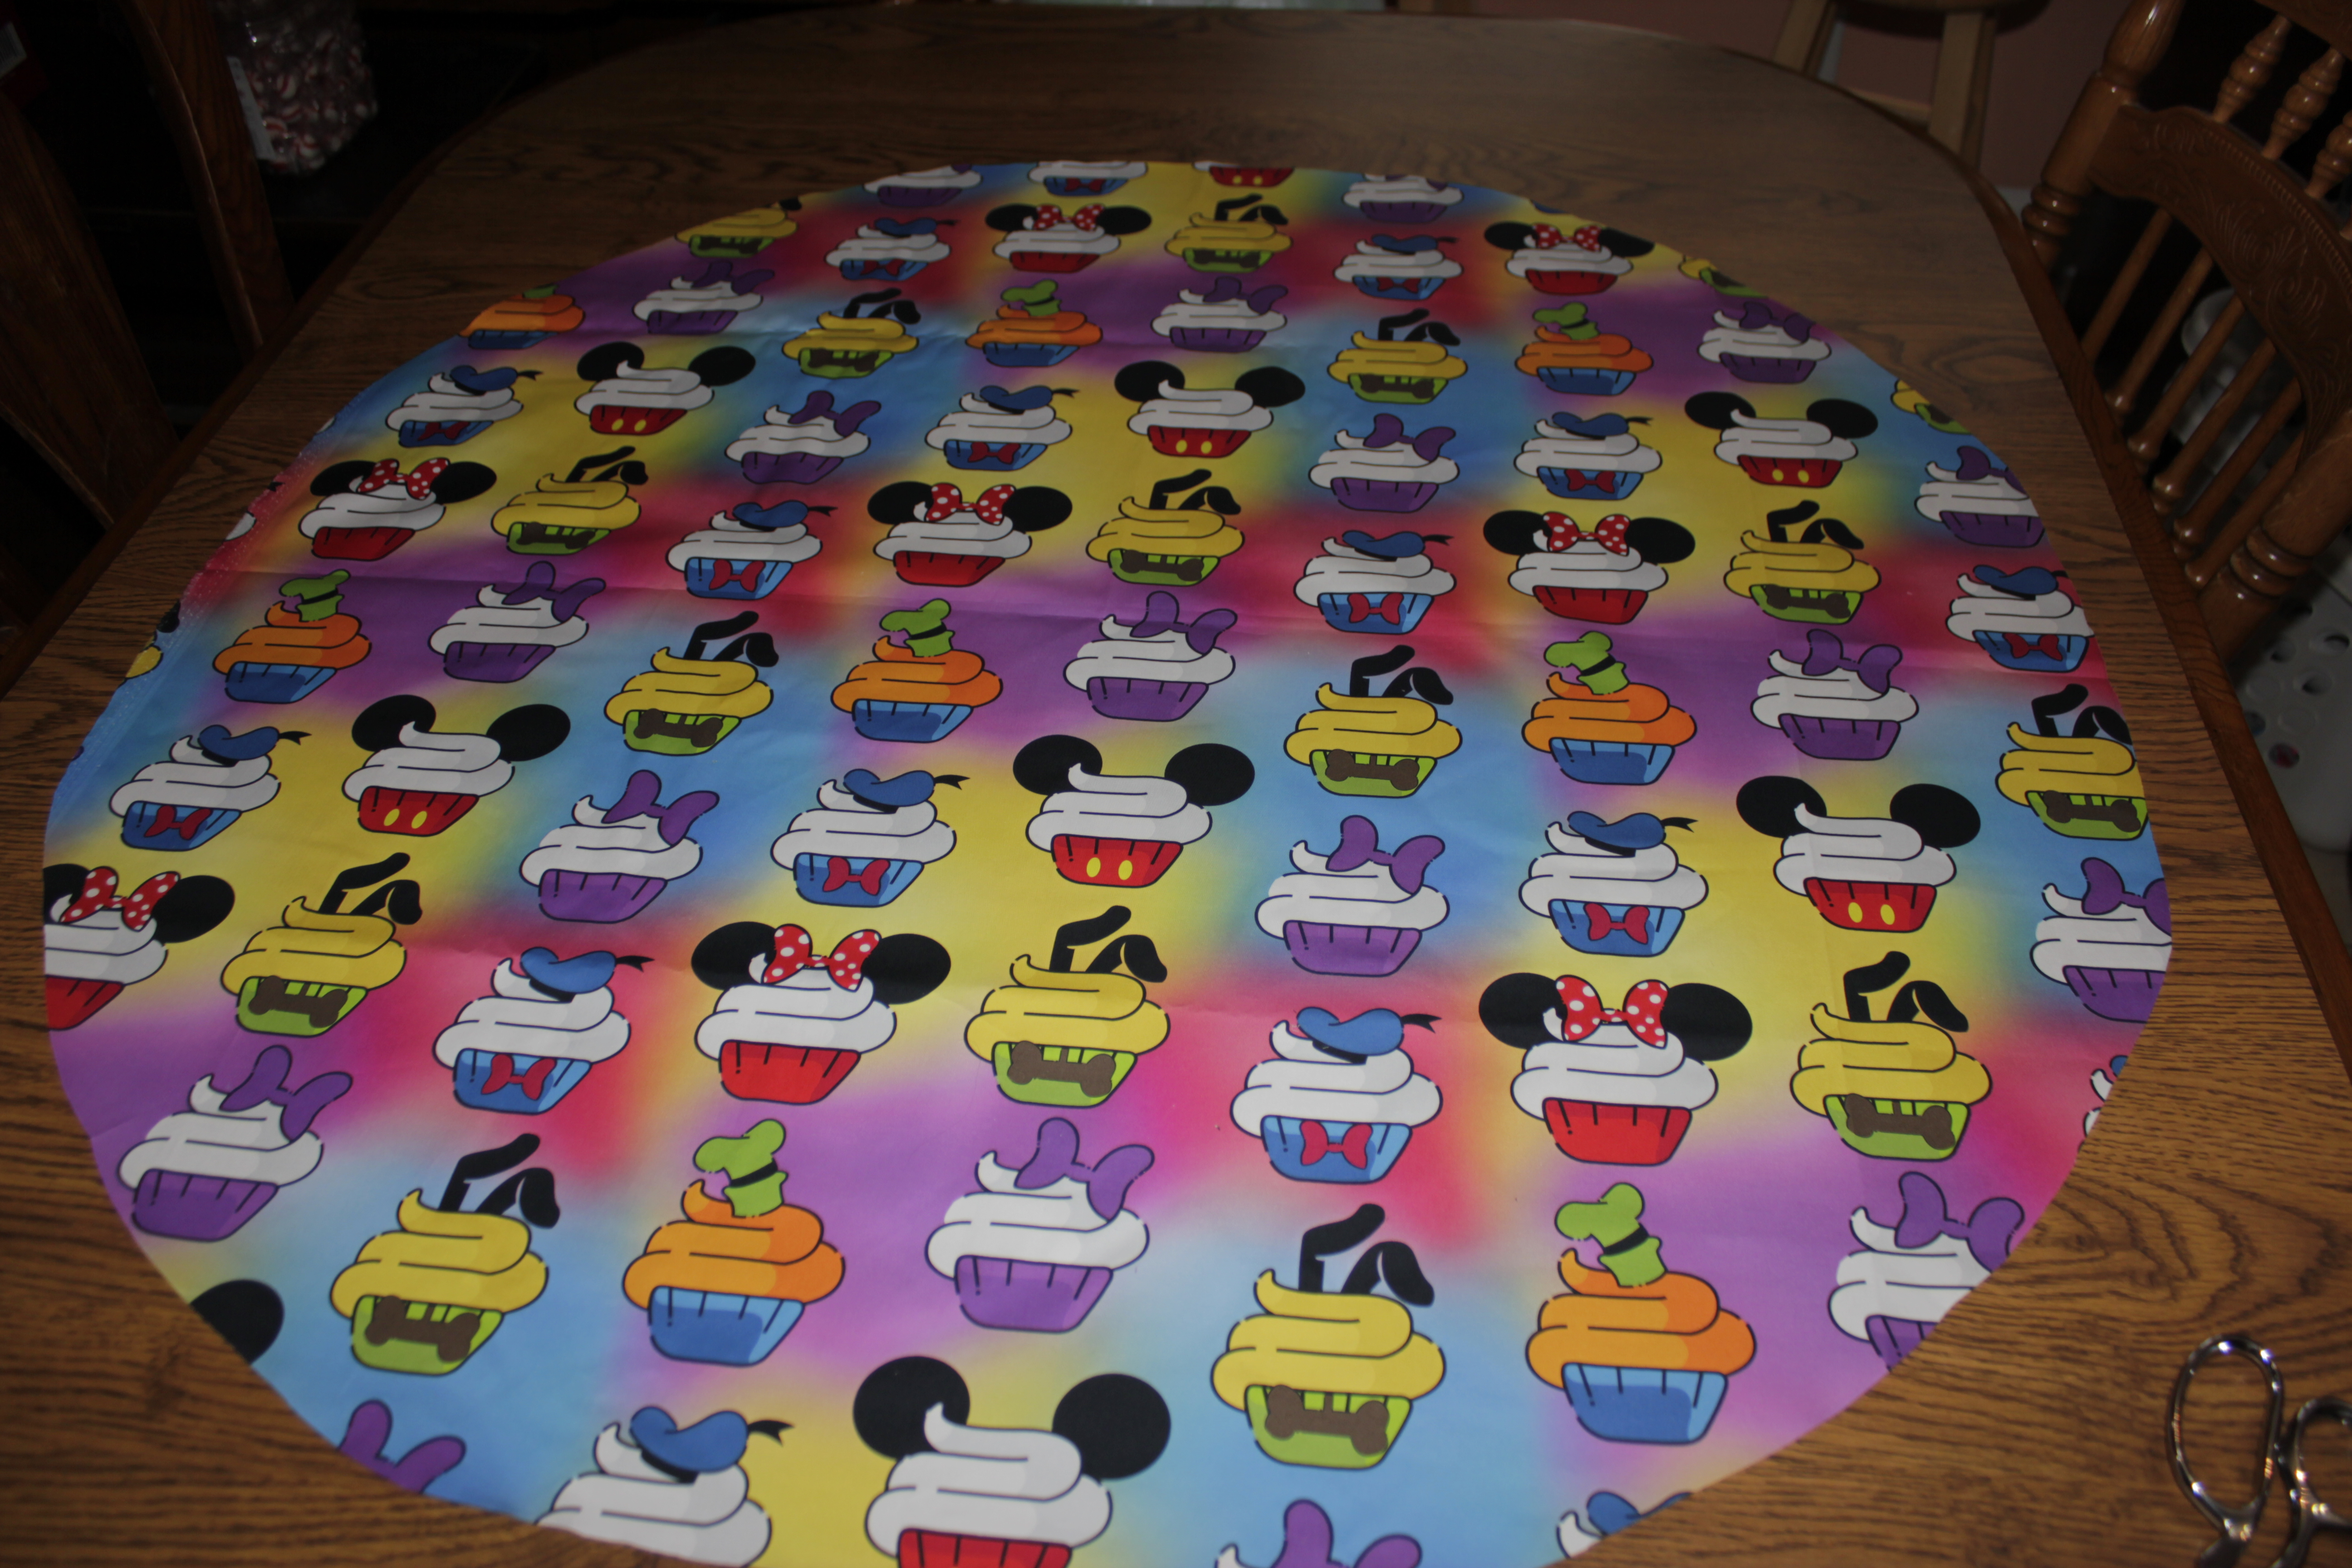
![]()
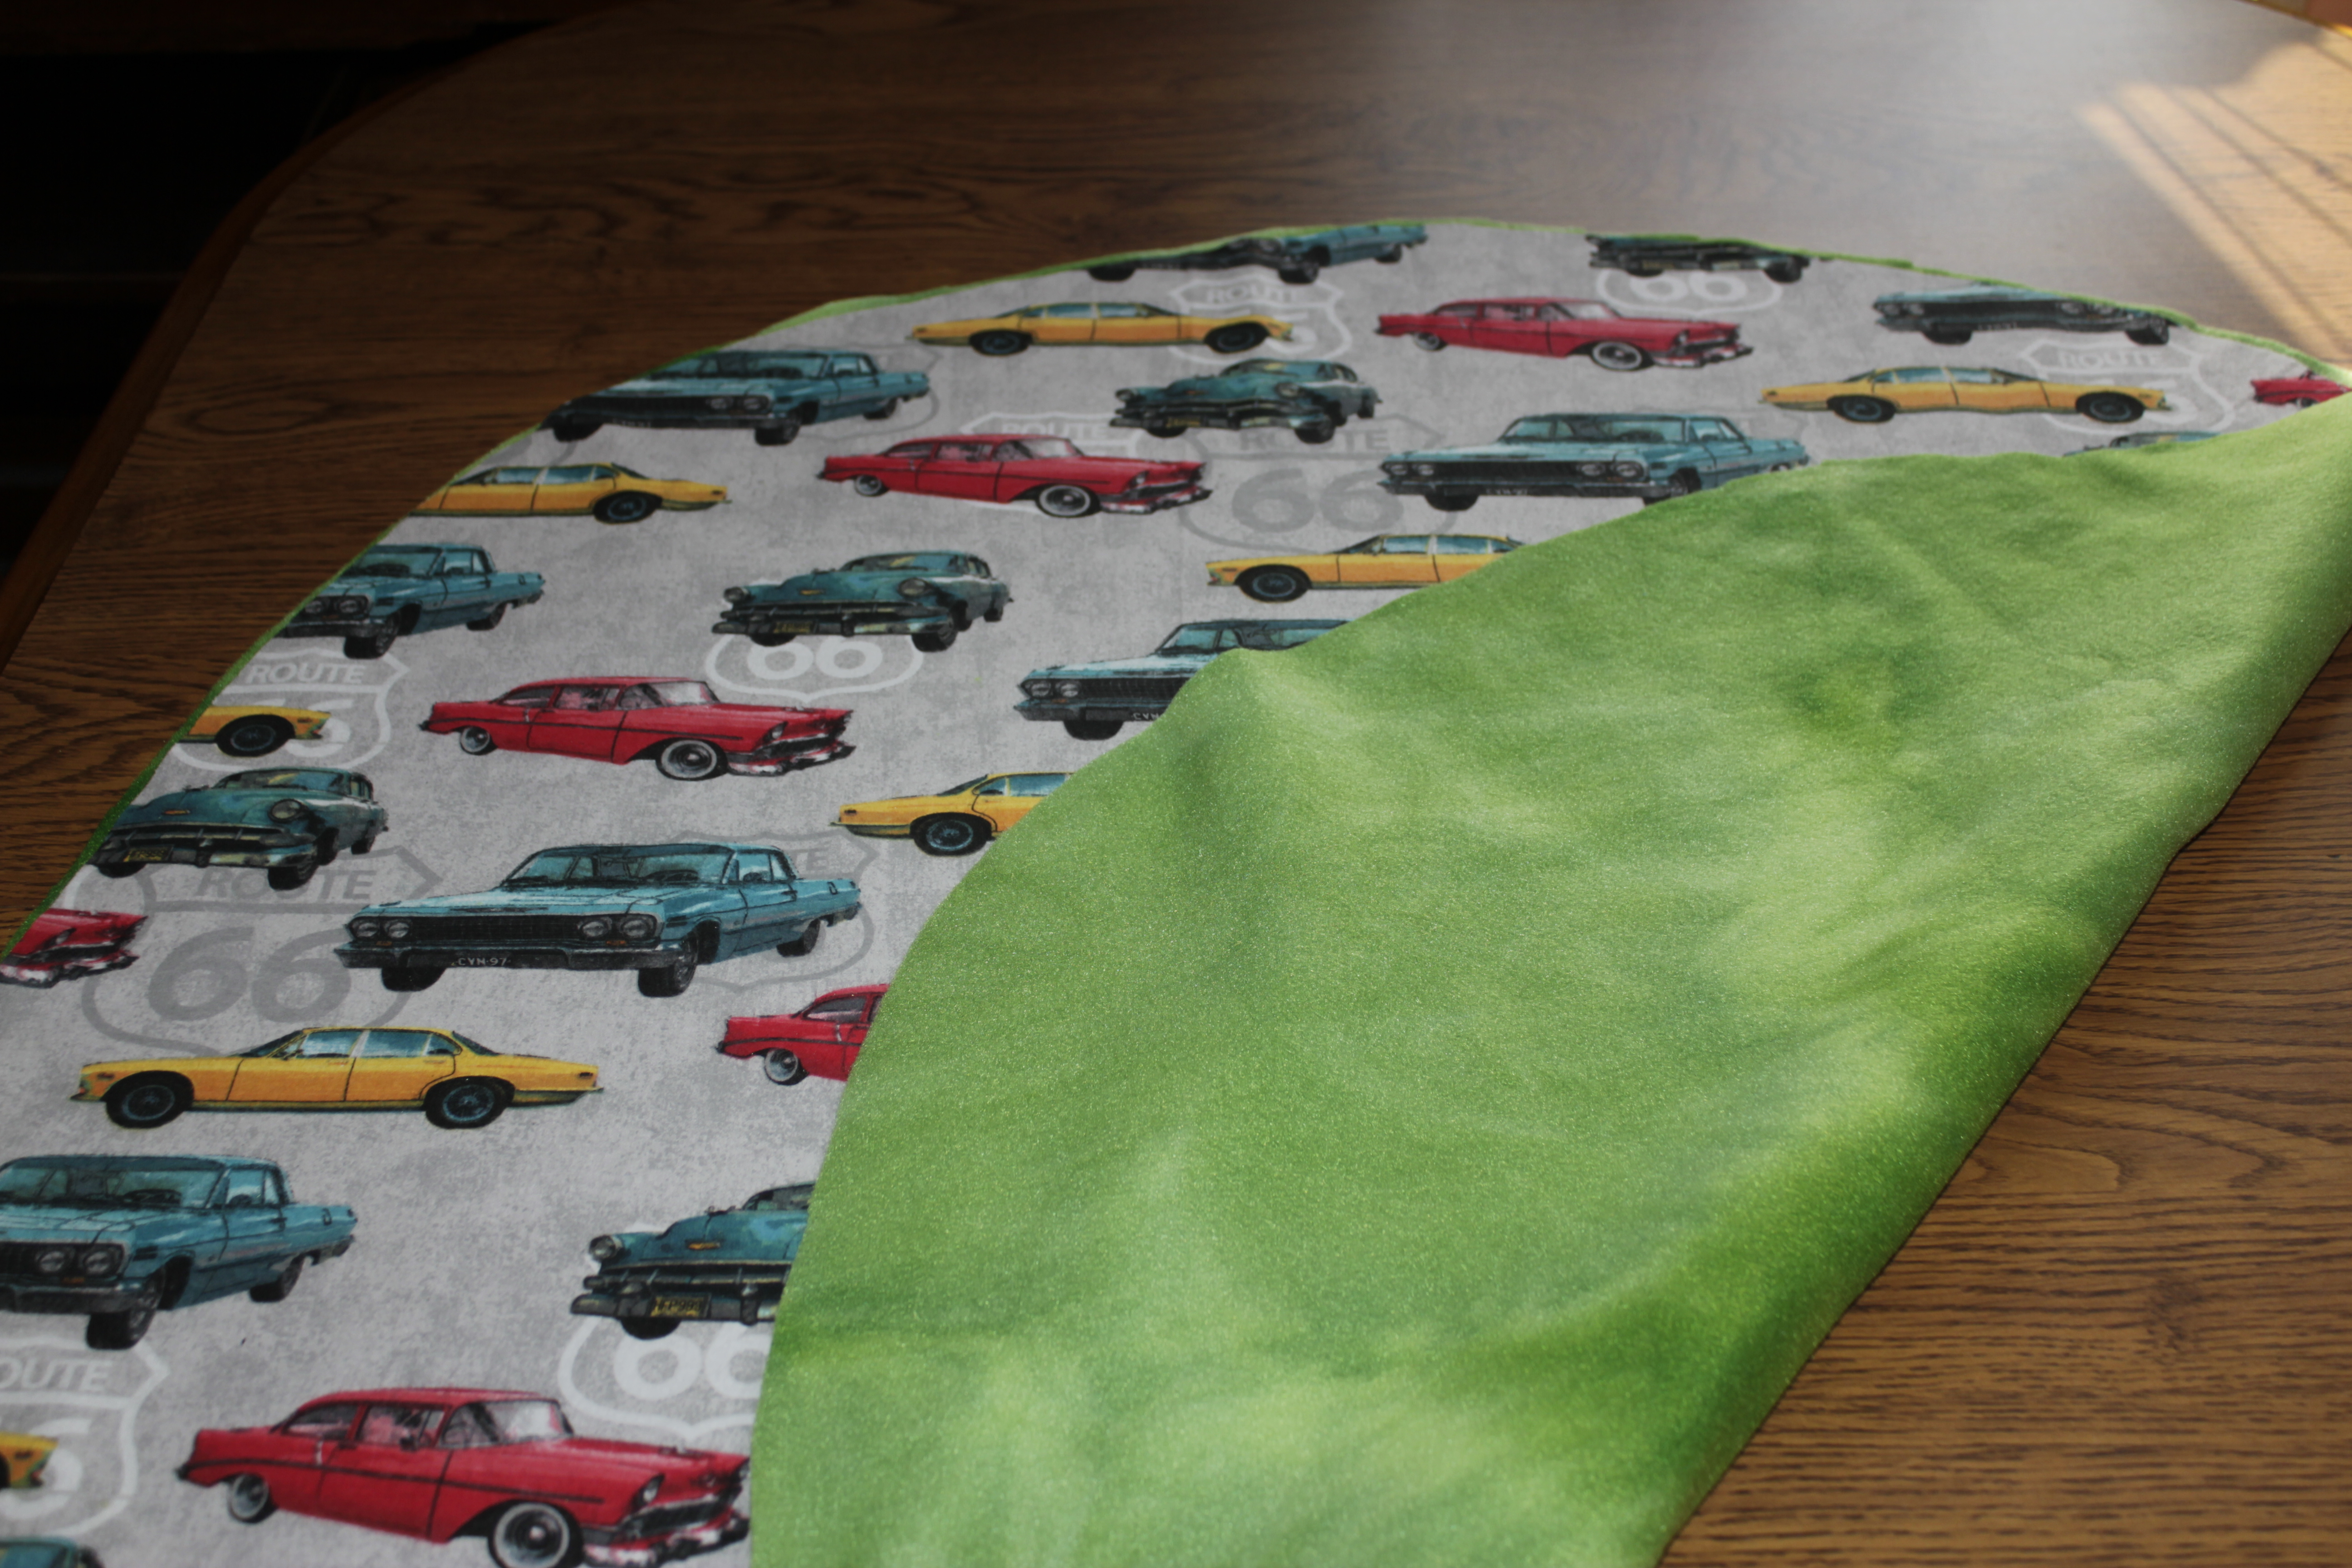
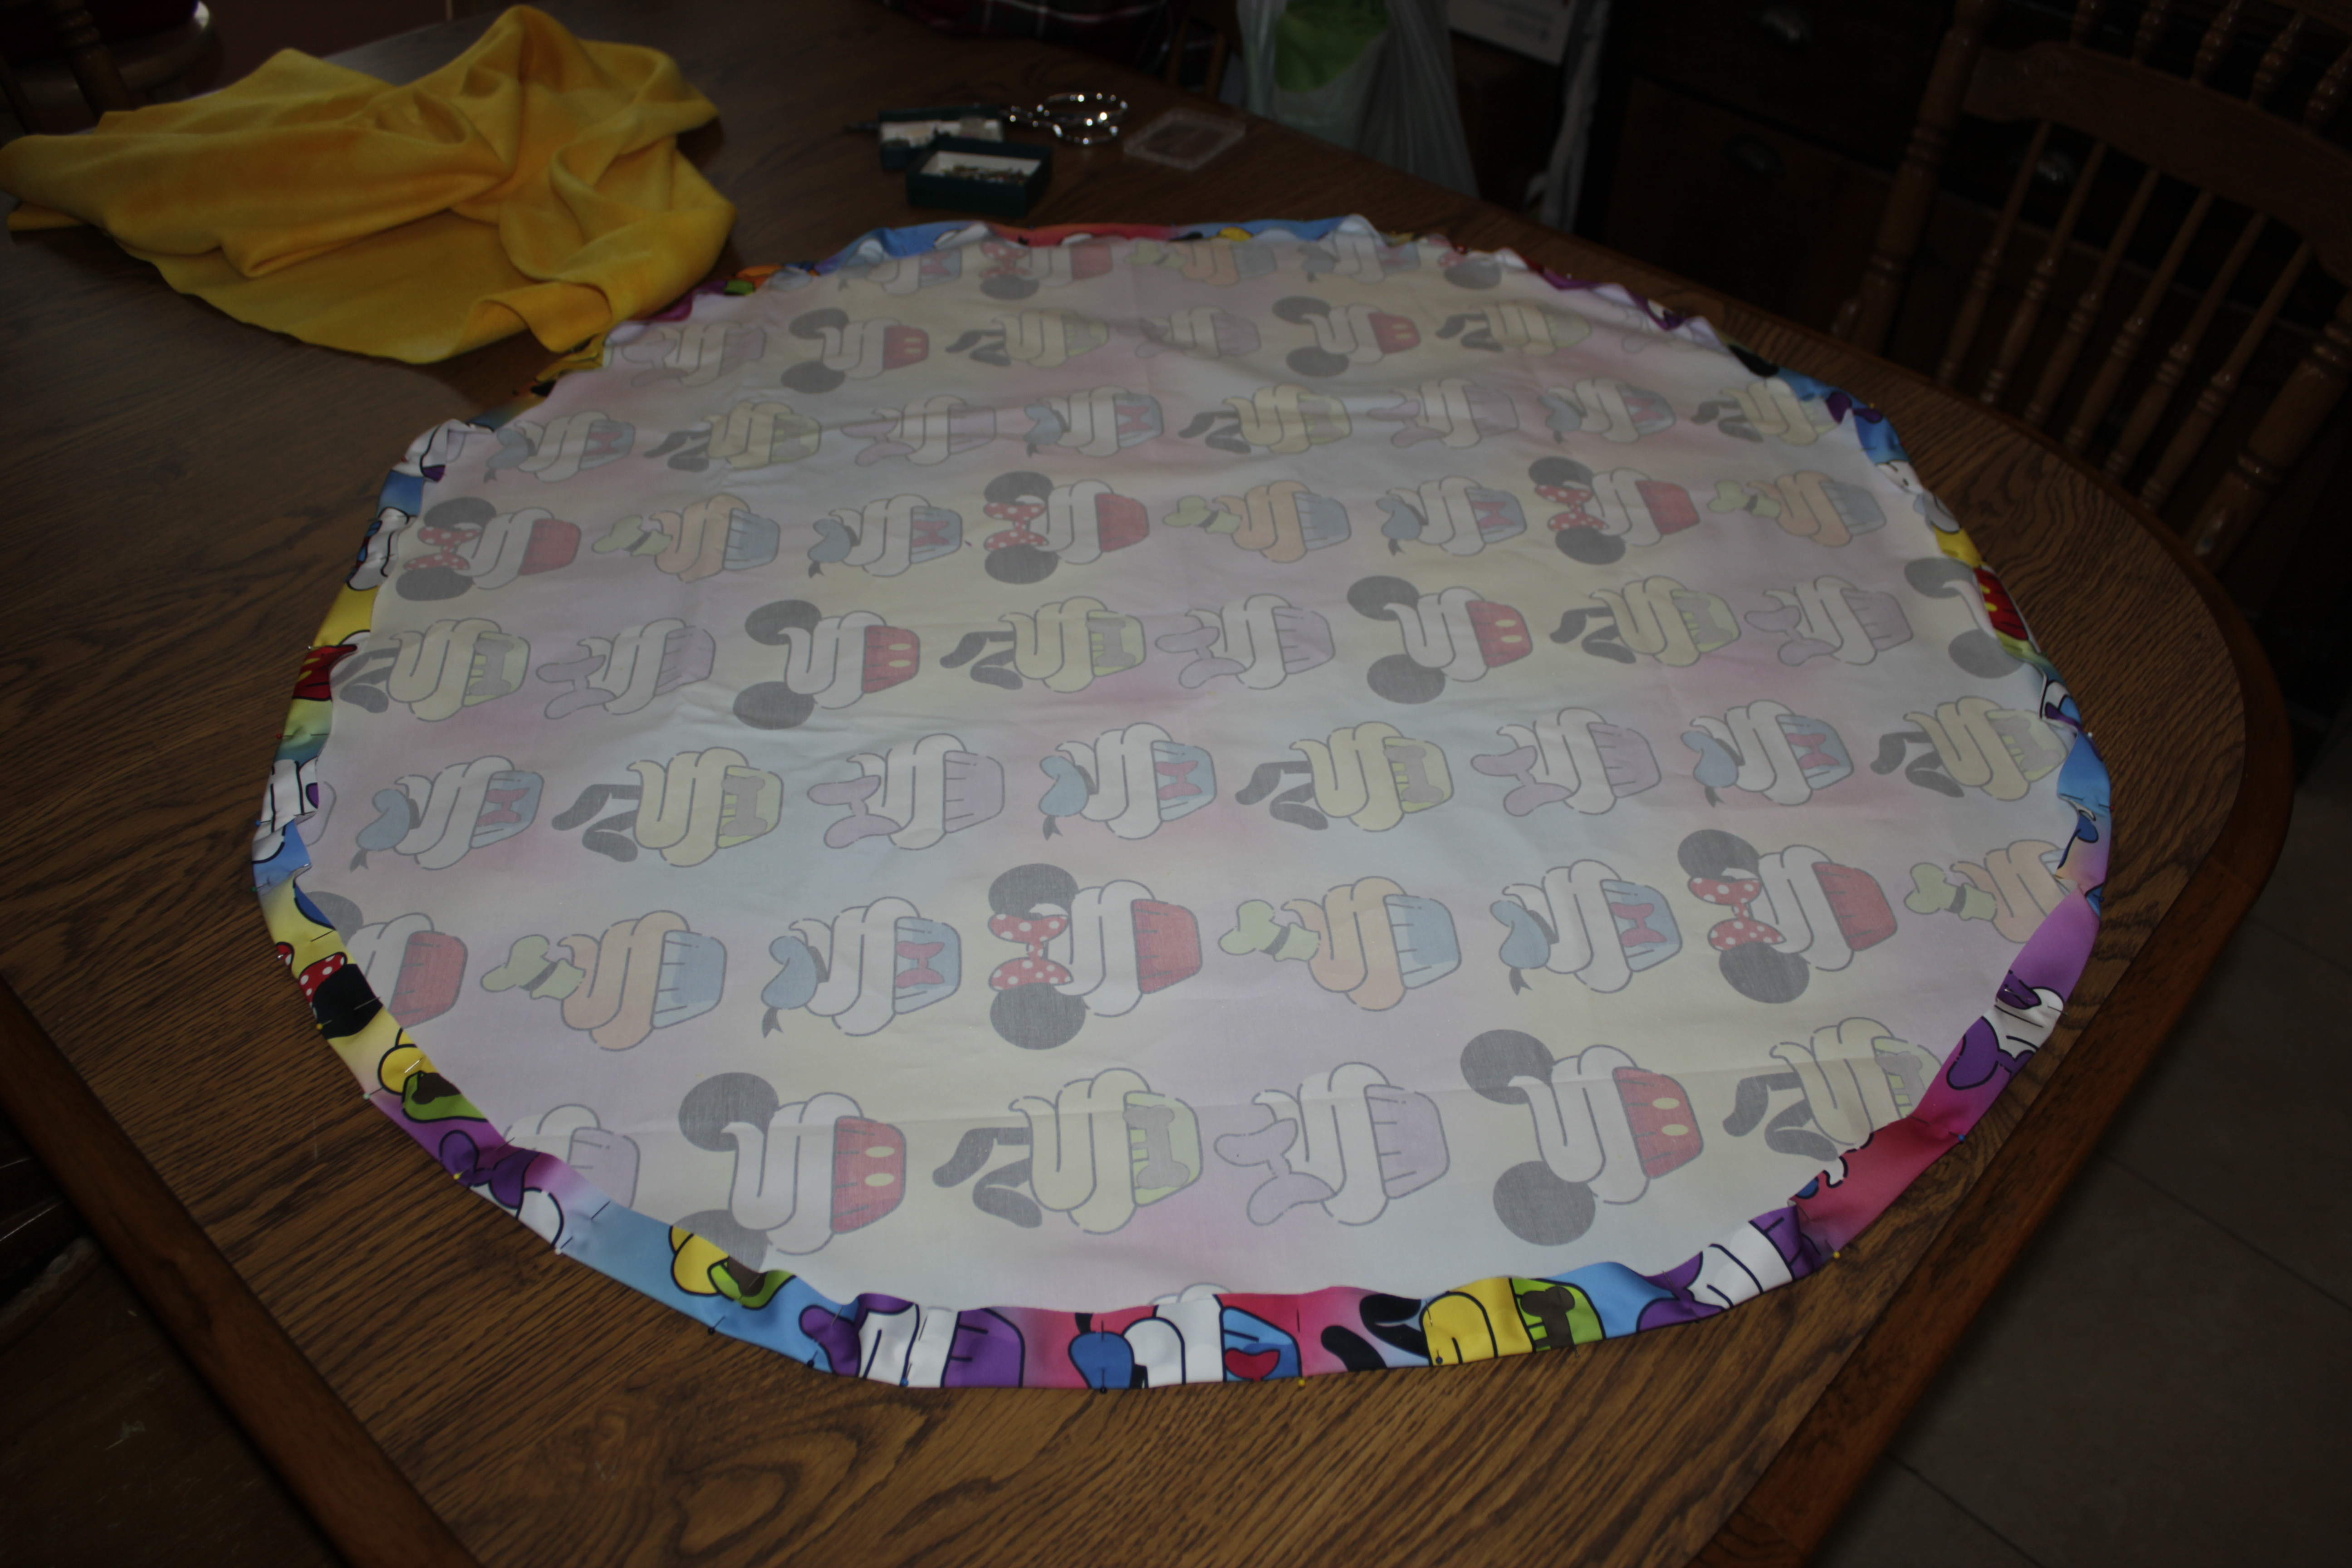
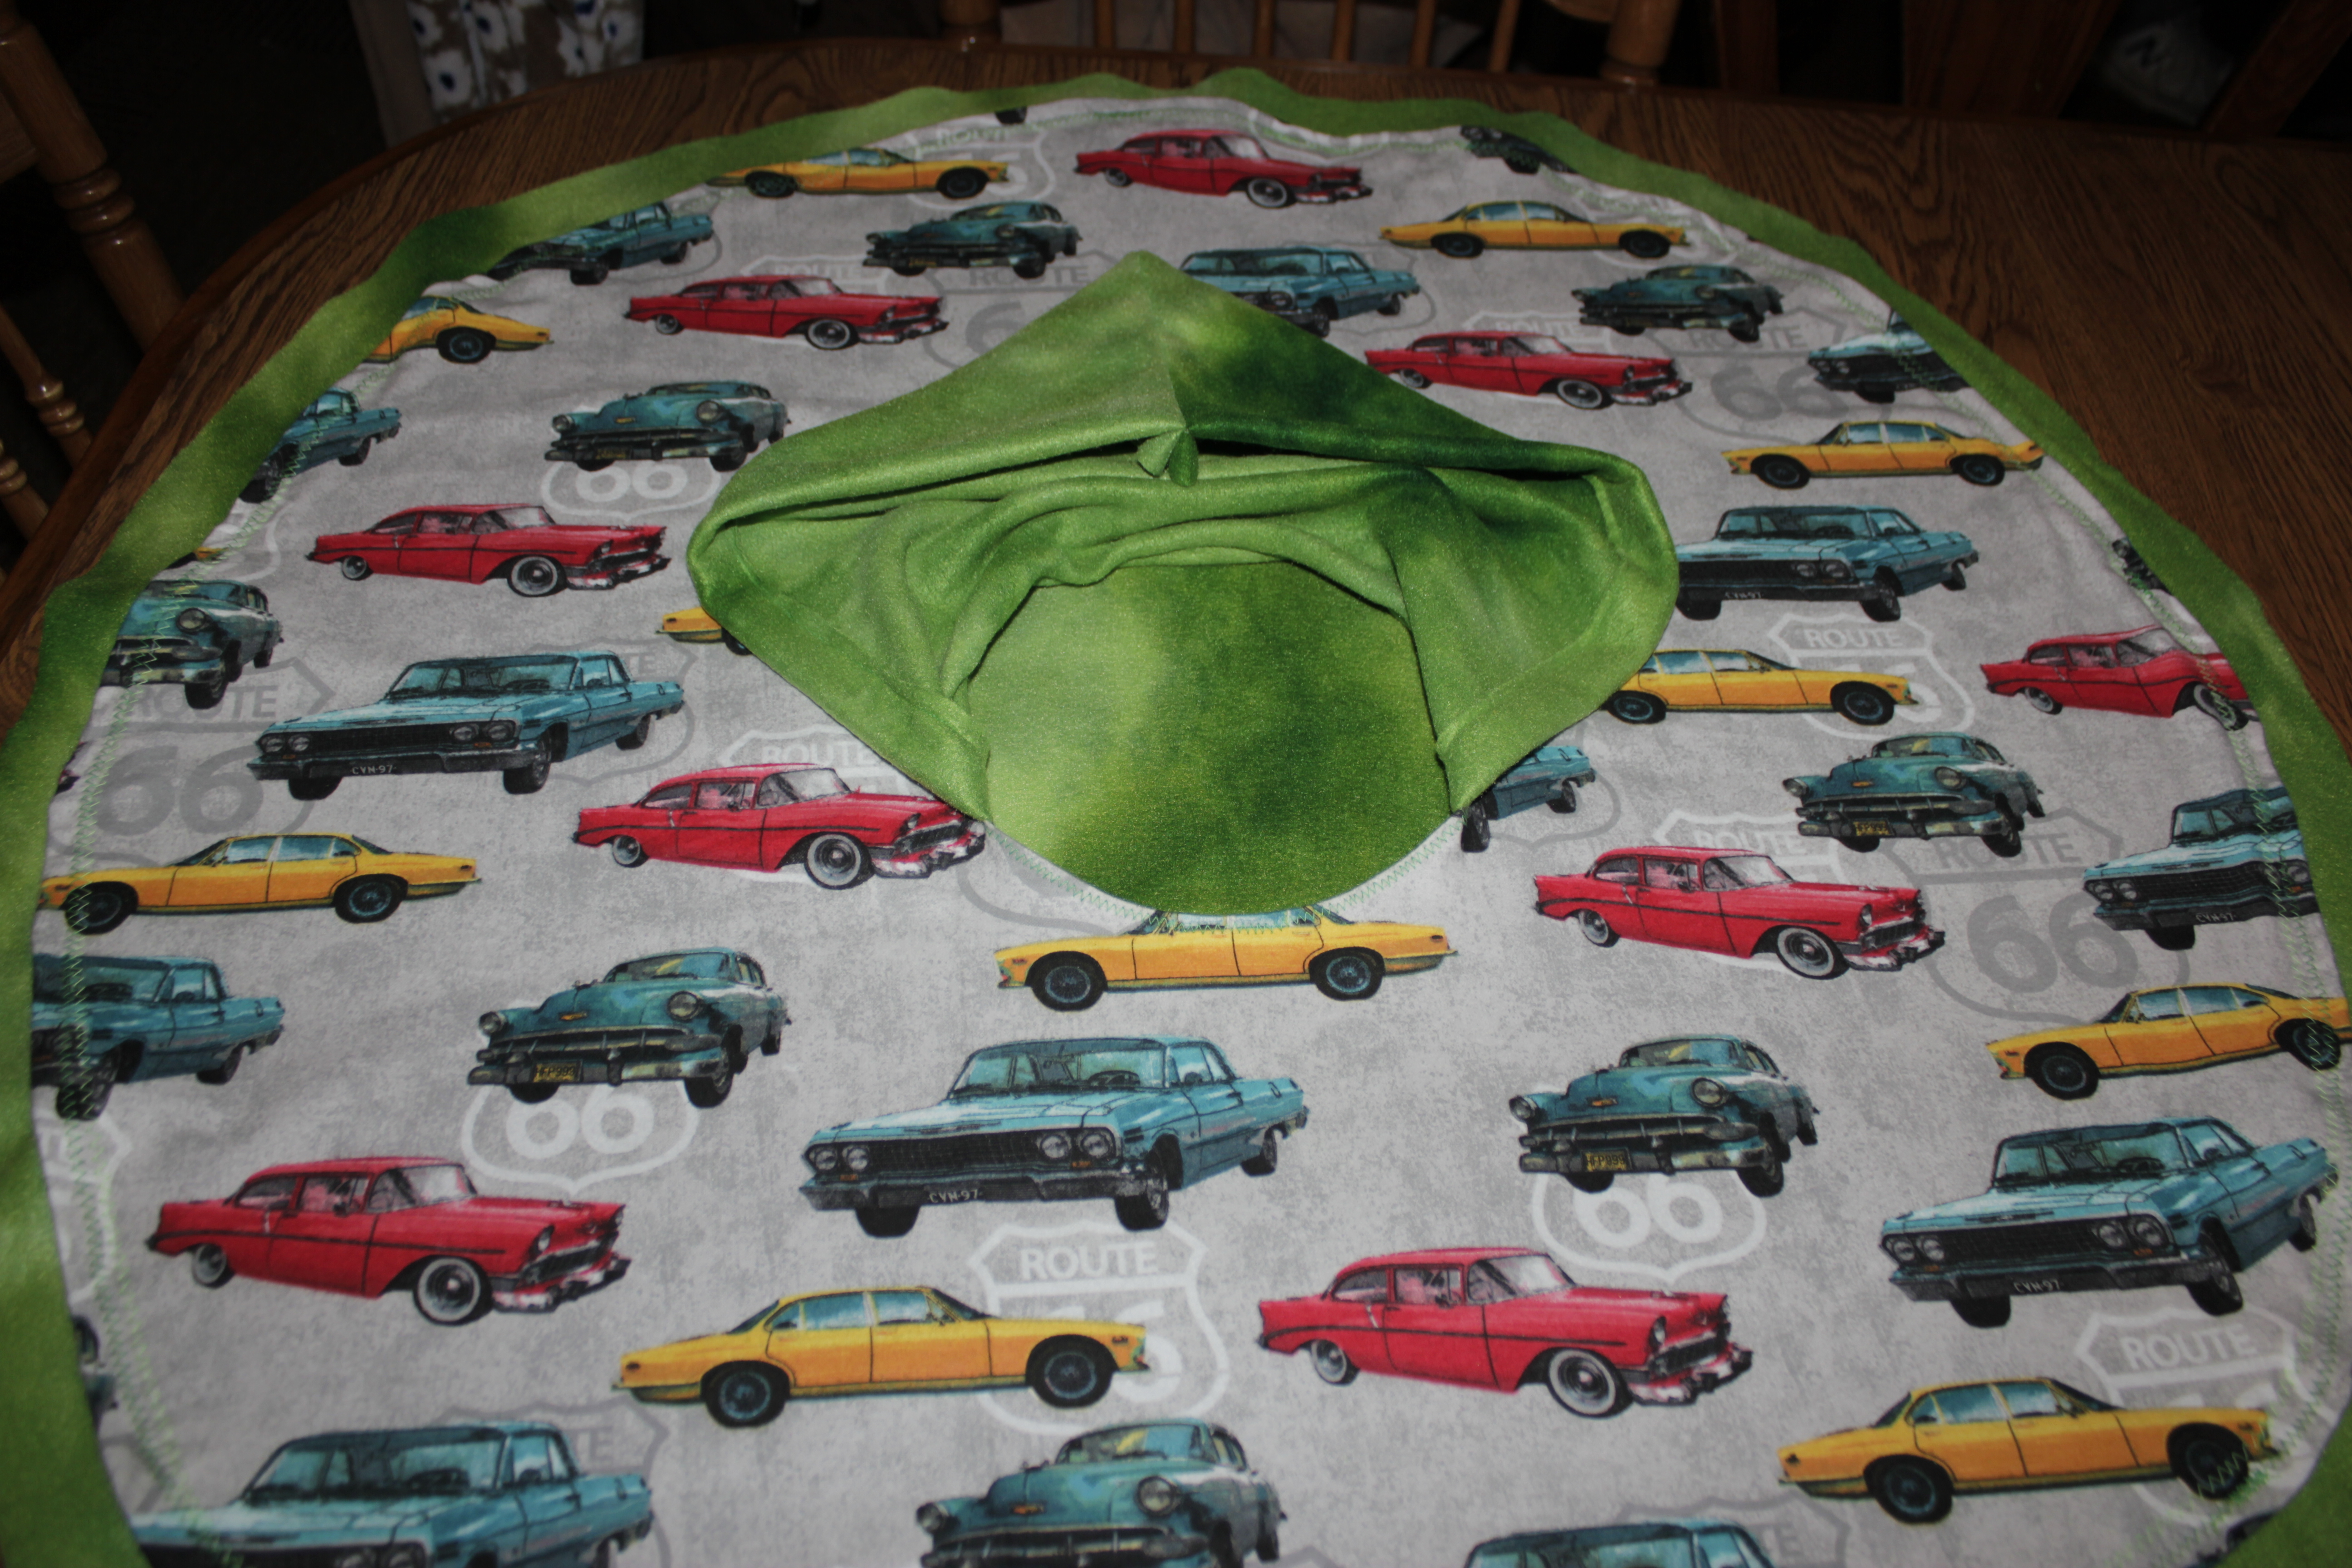
![]() Lay the circle of fabric on top of your fleece, wrong sides together. Smooth out all the bubbles. You do not need to pin this step, because the fabrics cling together at this point. It made me think of the old flannel board stories I remember from my childhood – was that from Shari Lewis and Lambchop?
Lay the circle of fabric on top of your fleece, wrong sides together. Smooth out all the bubbles. You do not need to pin this step, because the fabrics cling together at this point. It made me think of the old flannel board stories I remember from my childhood – was that from Shari Lewis and Lambchop?
![]()
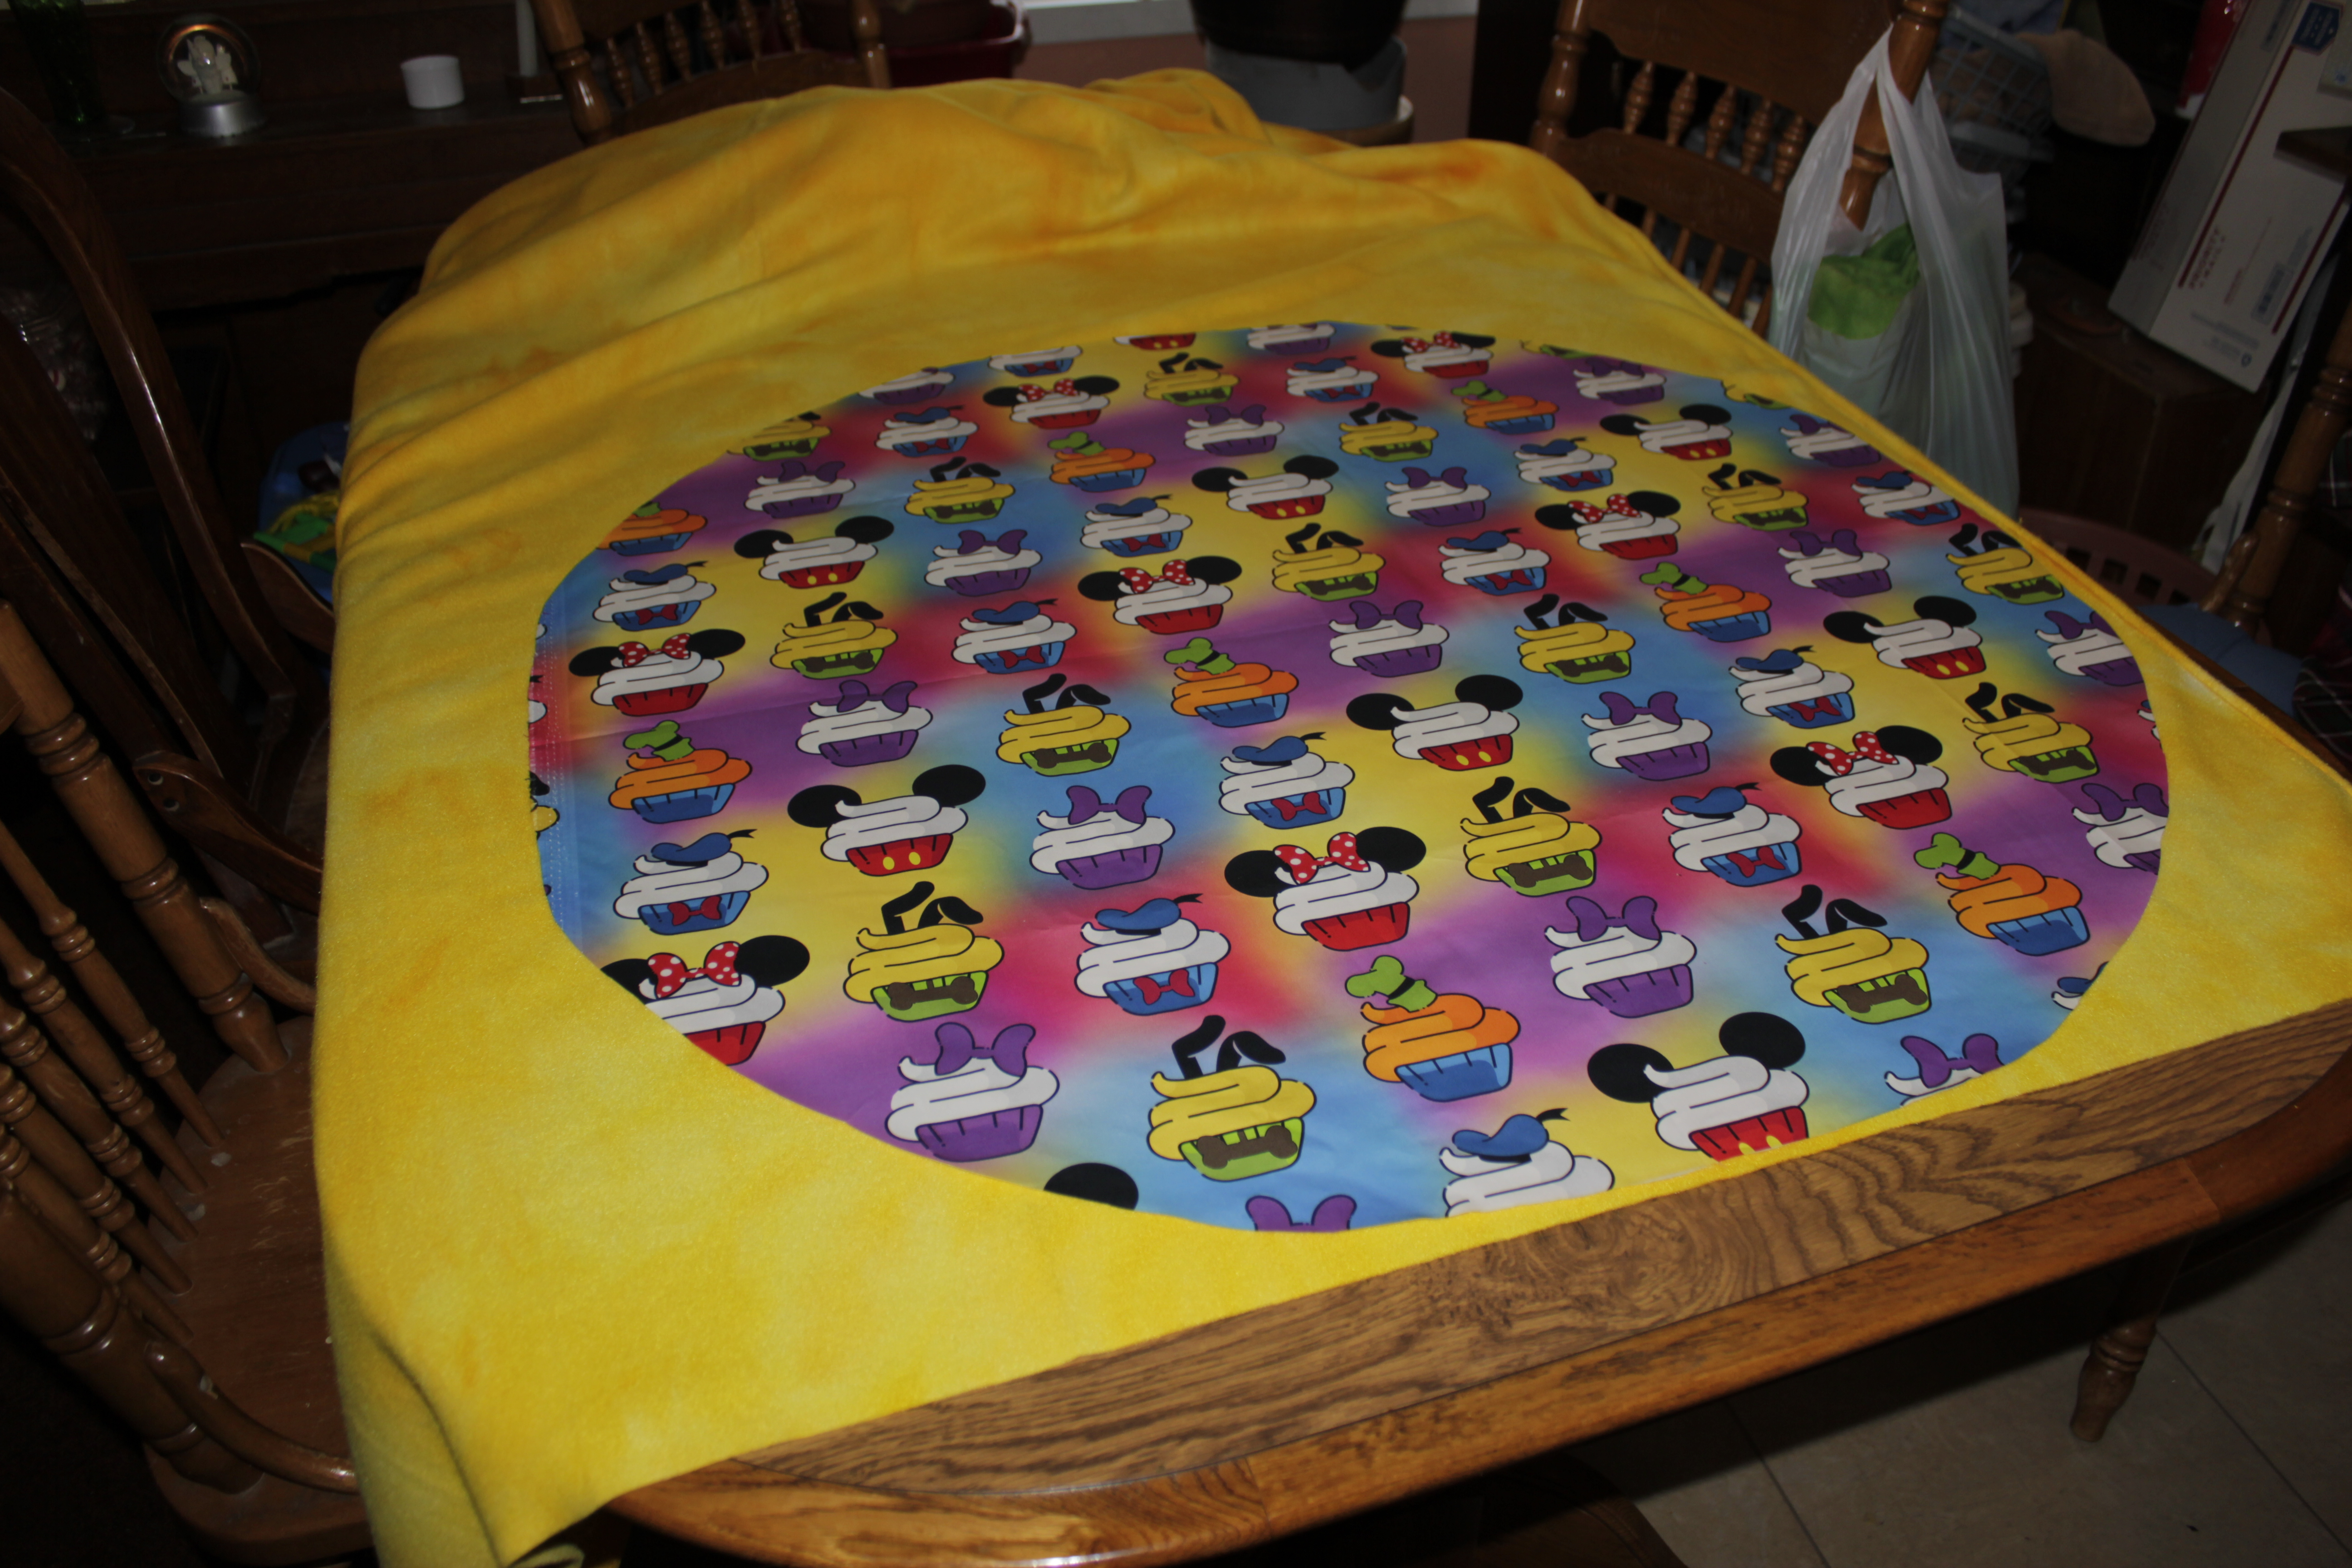 Cut out the fleece fabric around the fashion fabric to give you two circles the same size.
![]()
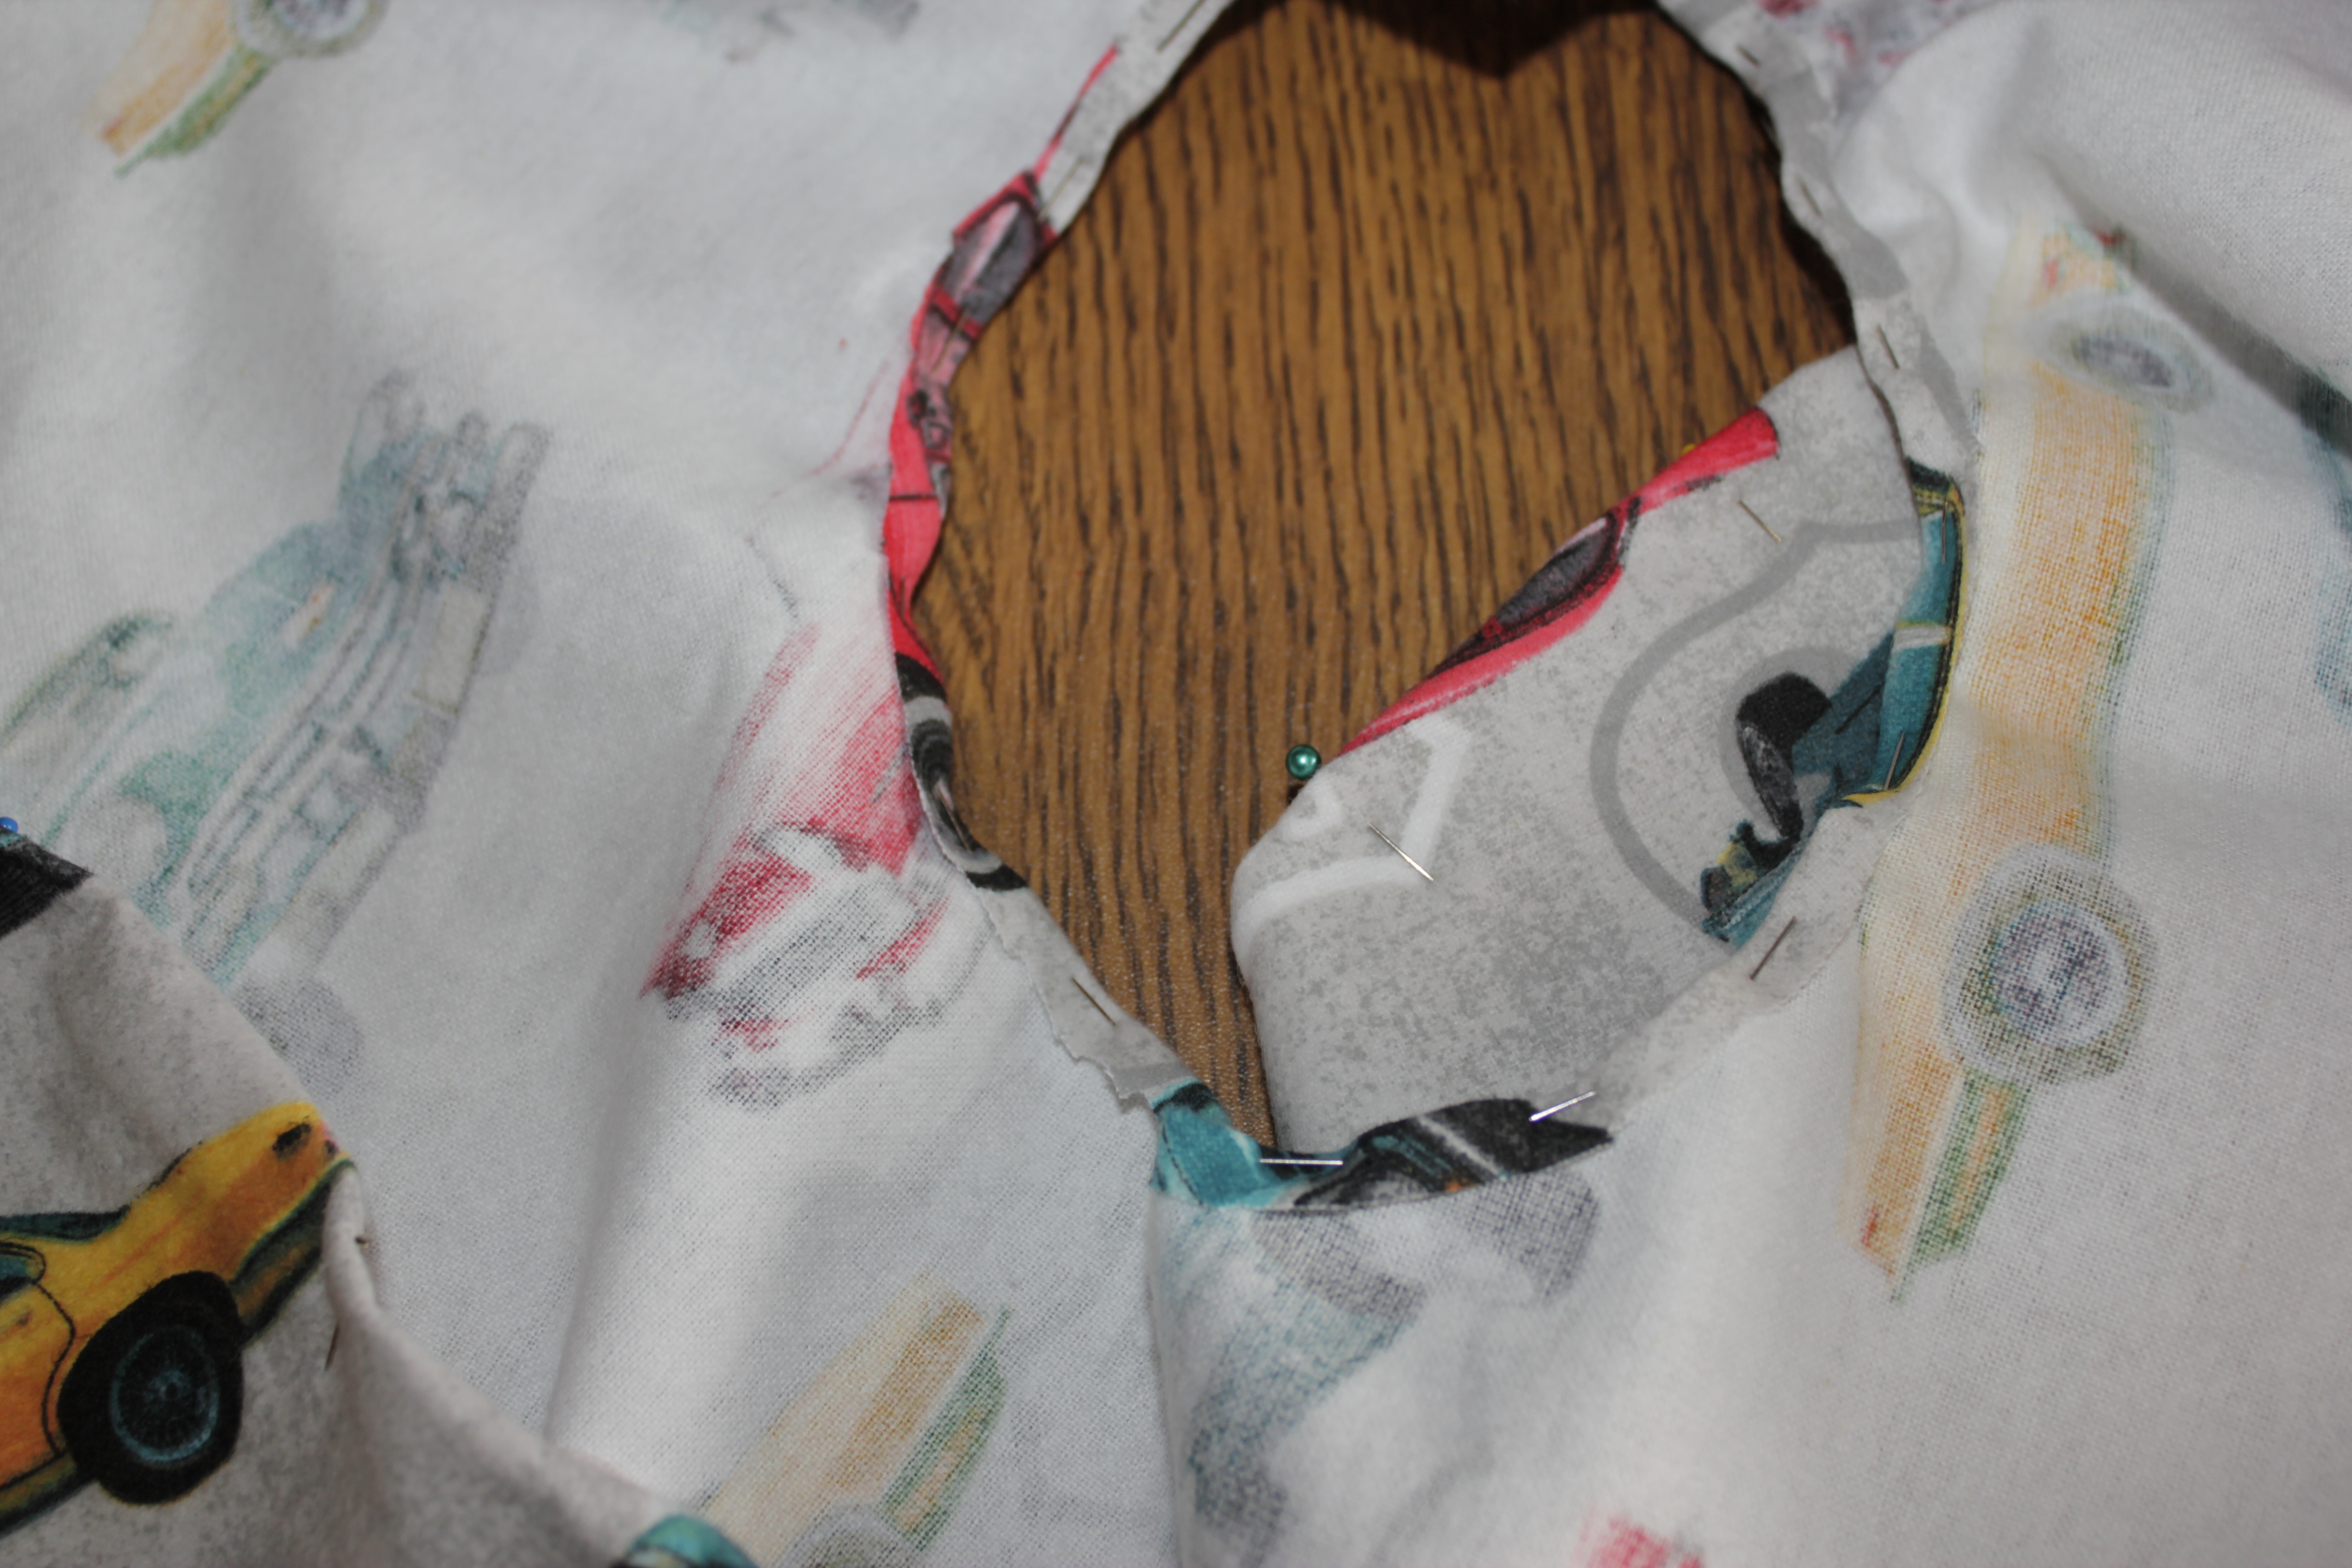
The next step is cutting the neck hole from the fashion fabric. Fold the circle into quarters to find the exact center. Mark the center point.
![]()

Lay a saucer on the fabric, centering it on the exact center. (try to get as close to the exact center as possible, but it is not rocket science)
Trace around your saucer.![]() Yes, it looks very small. No, it is NOT too small.
Yes, it looks very small. No, it is NOT too small.

Cut out the center circle on your traced line.
http://minothouseatpoohcorner.com/wp-content/uploads/2021/01/MG_9999.jpg
![]()
![]()
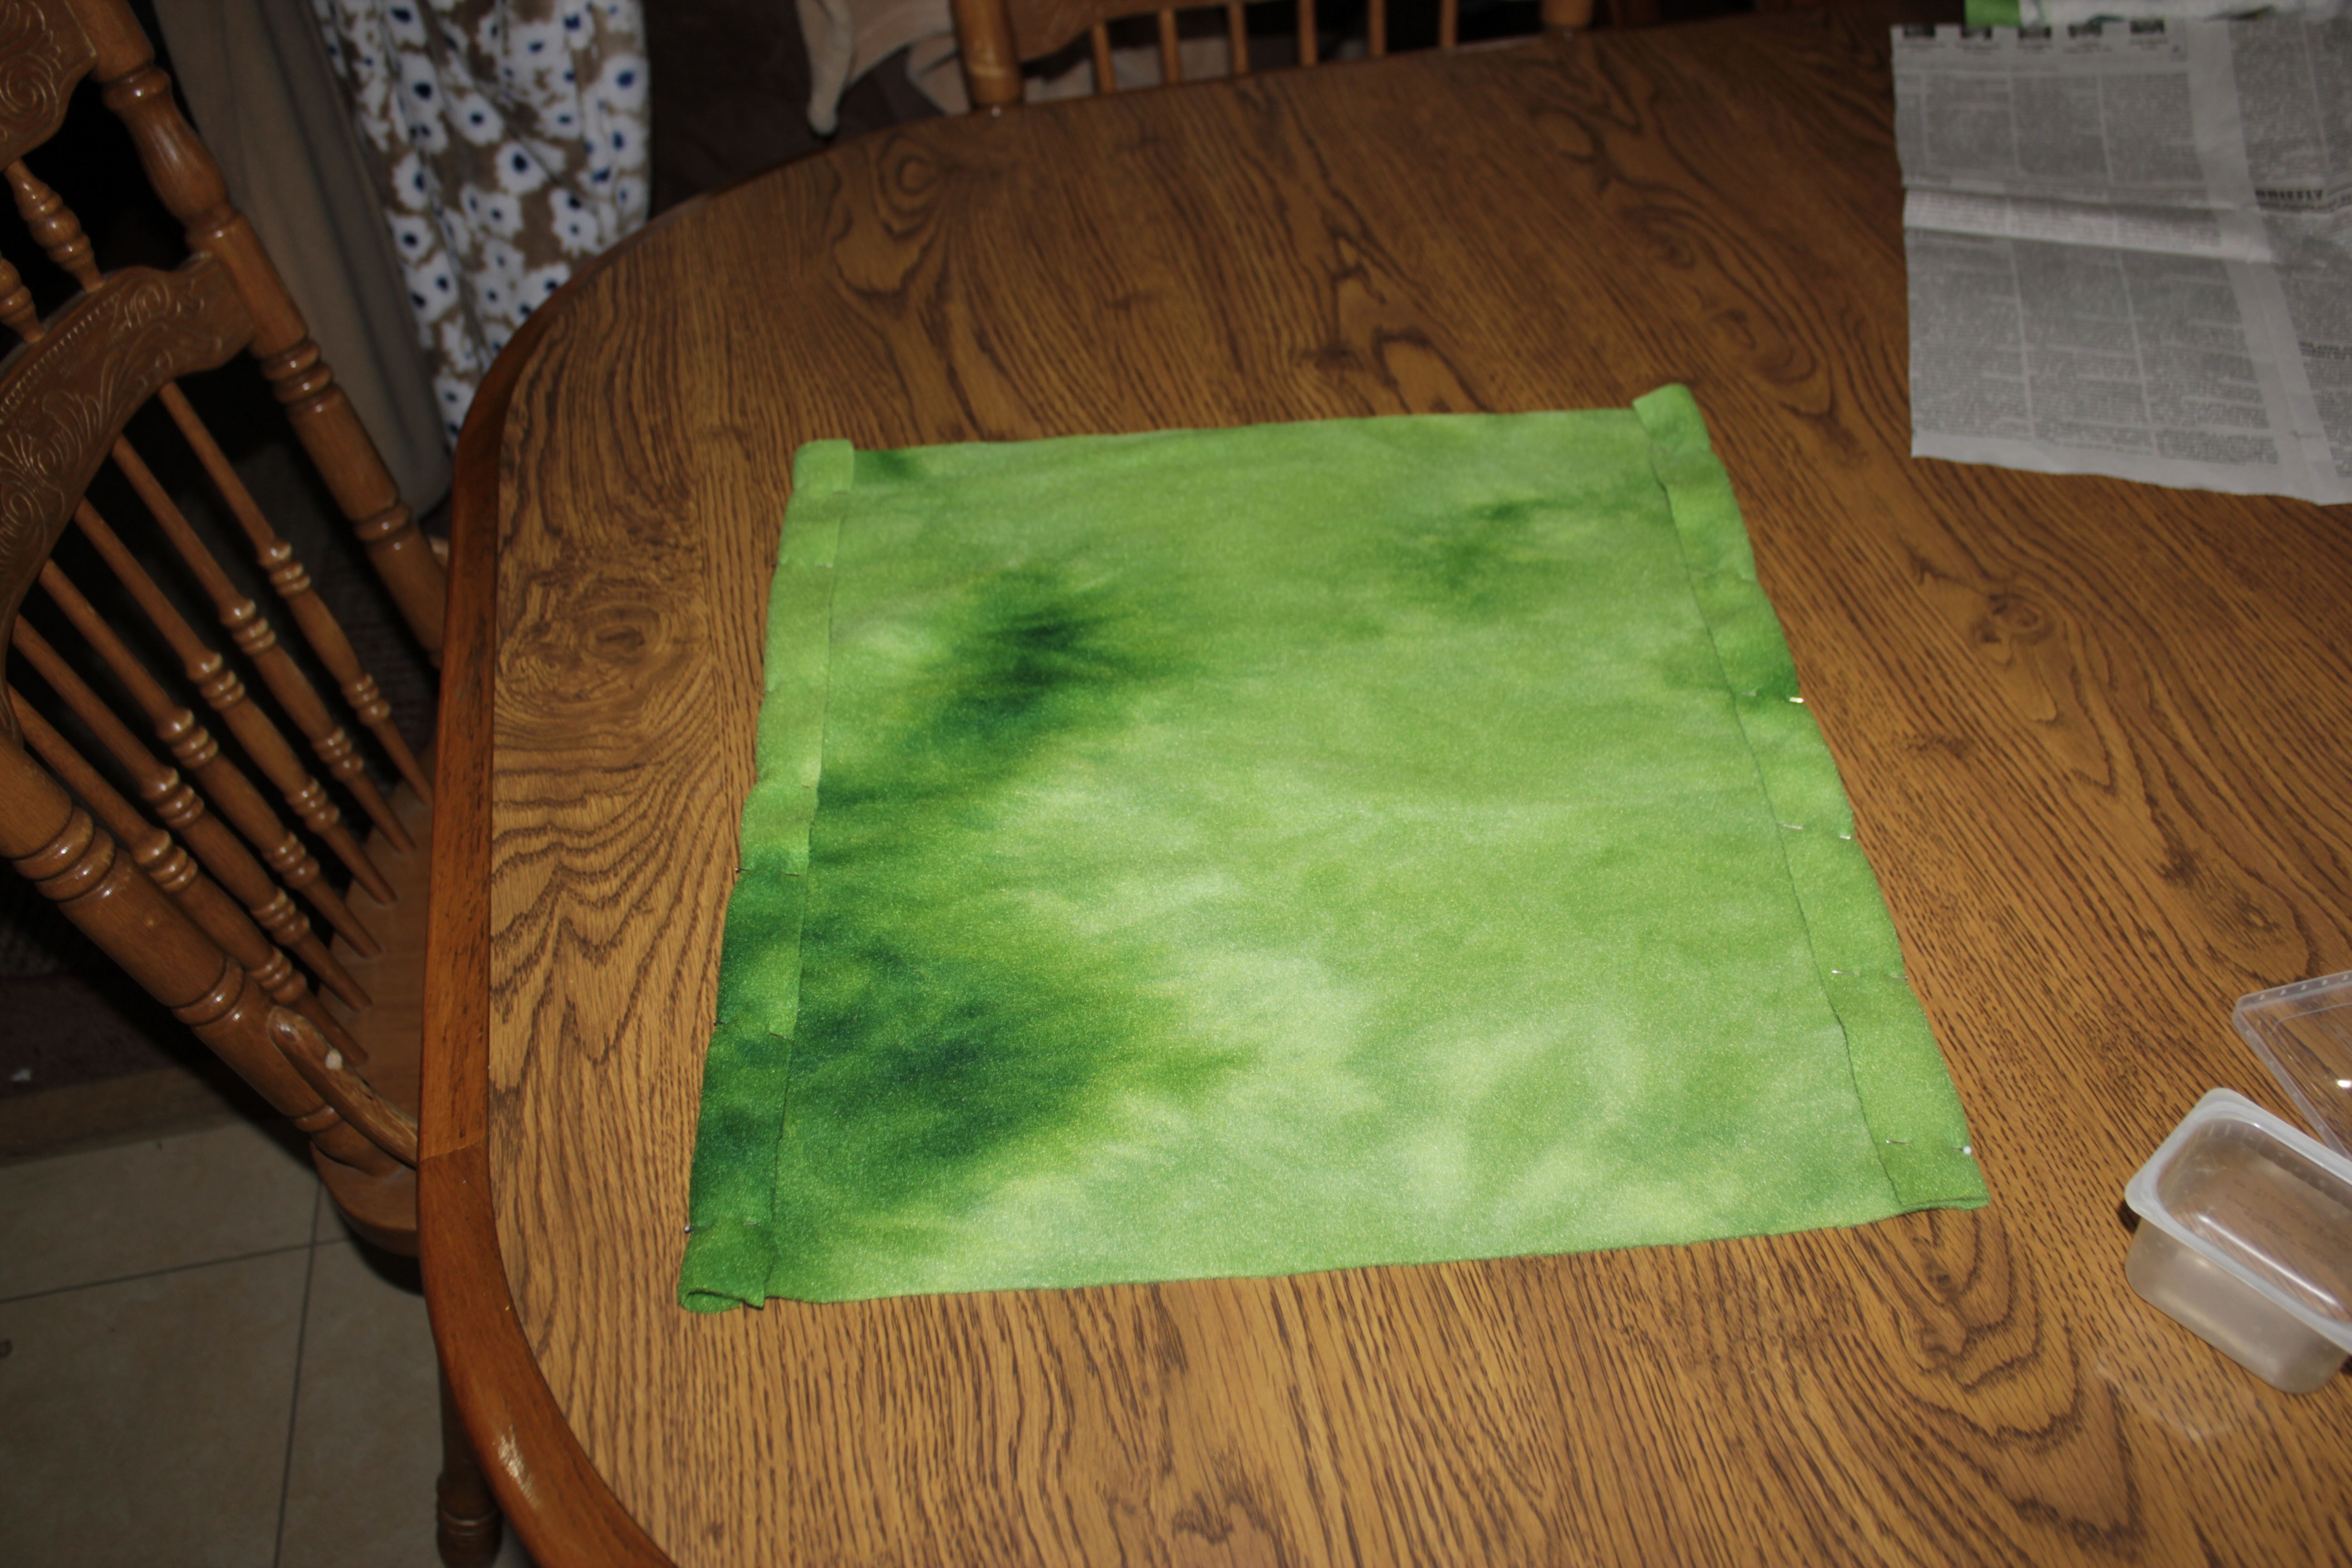
The next step is hemming the fabric circle and the neckline.
![]()
![]()

Stitch down the hem and the neckline. I used a wide zigzag stitch to give it a bit of flexibility.
![]()

![]()
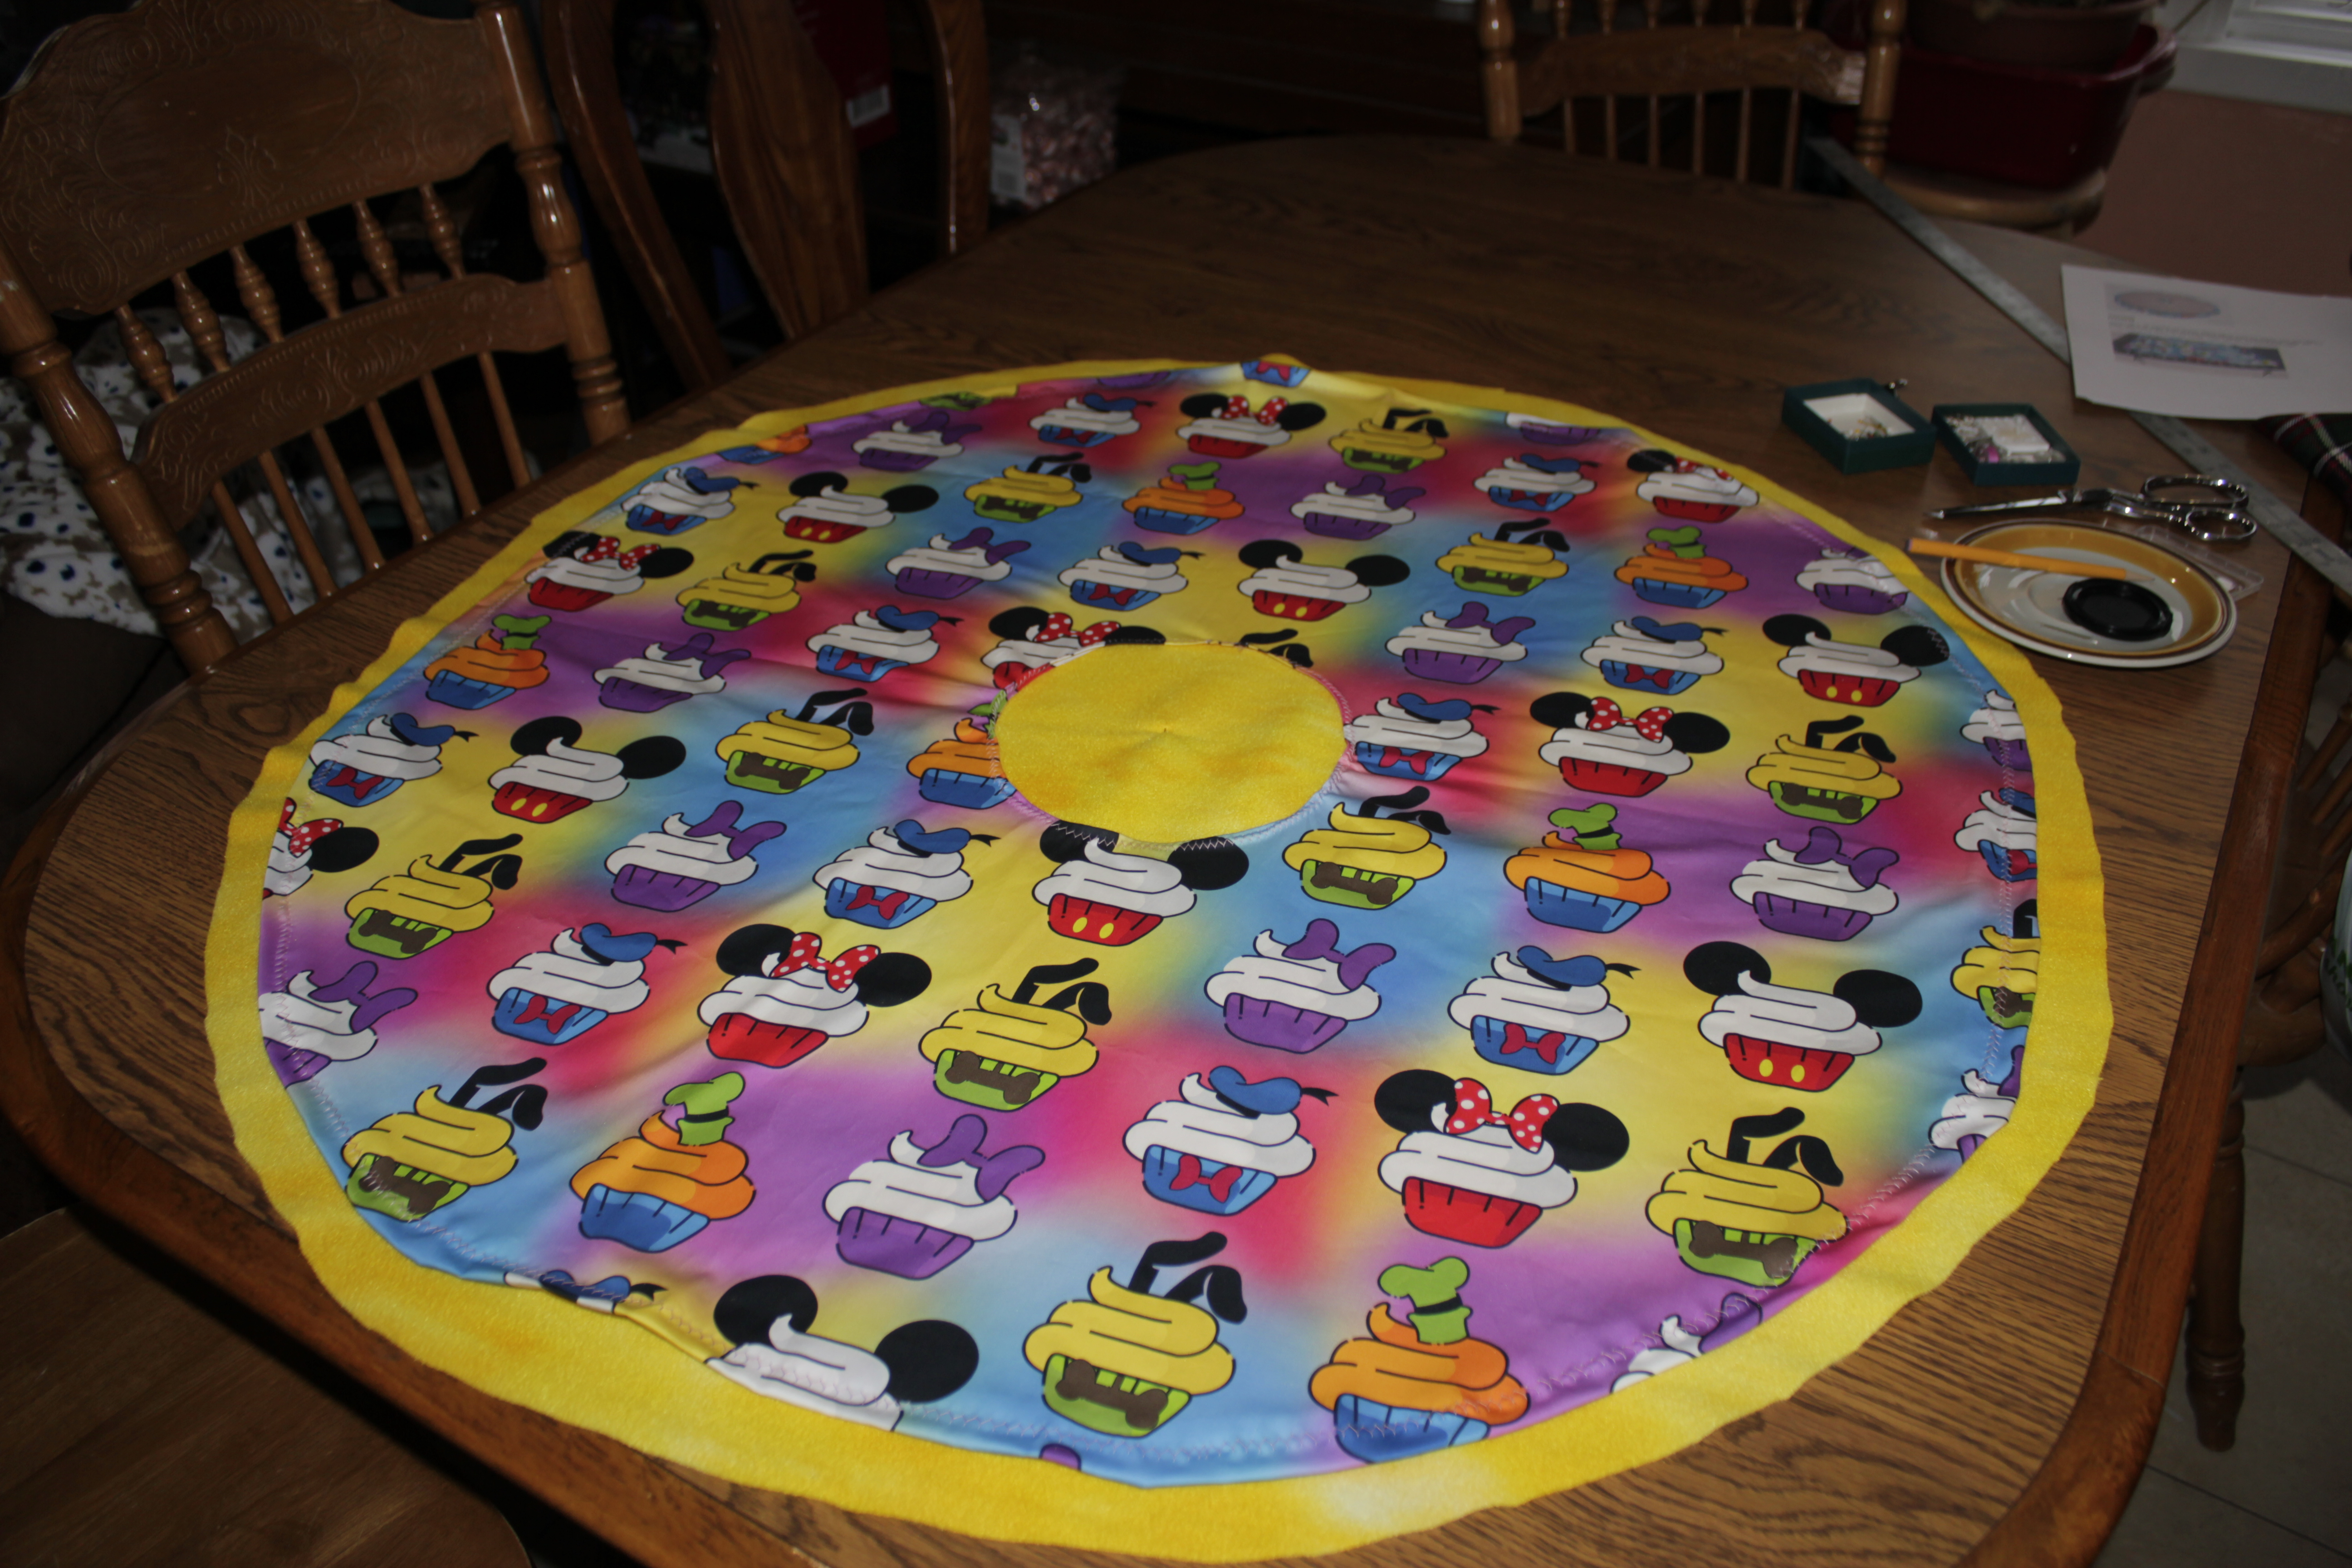
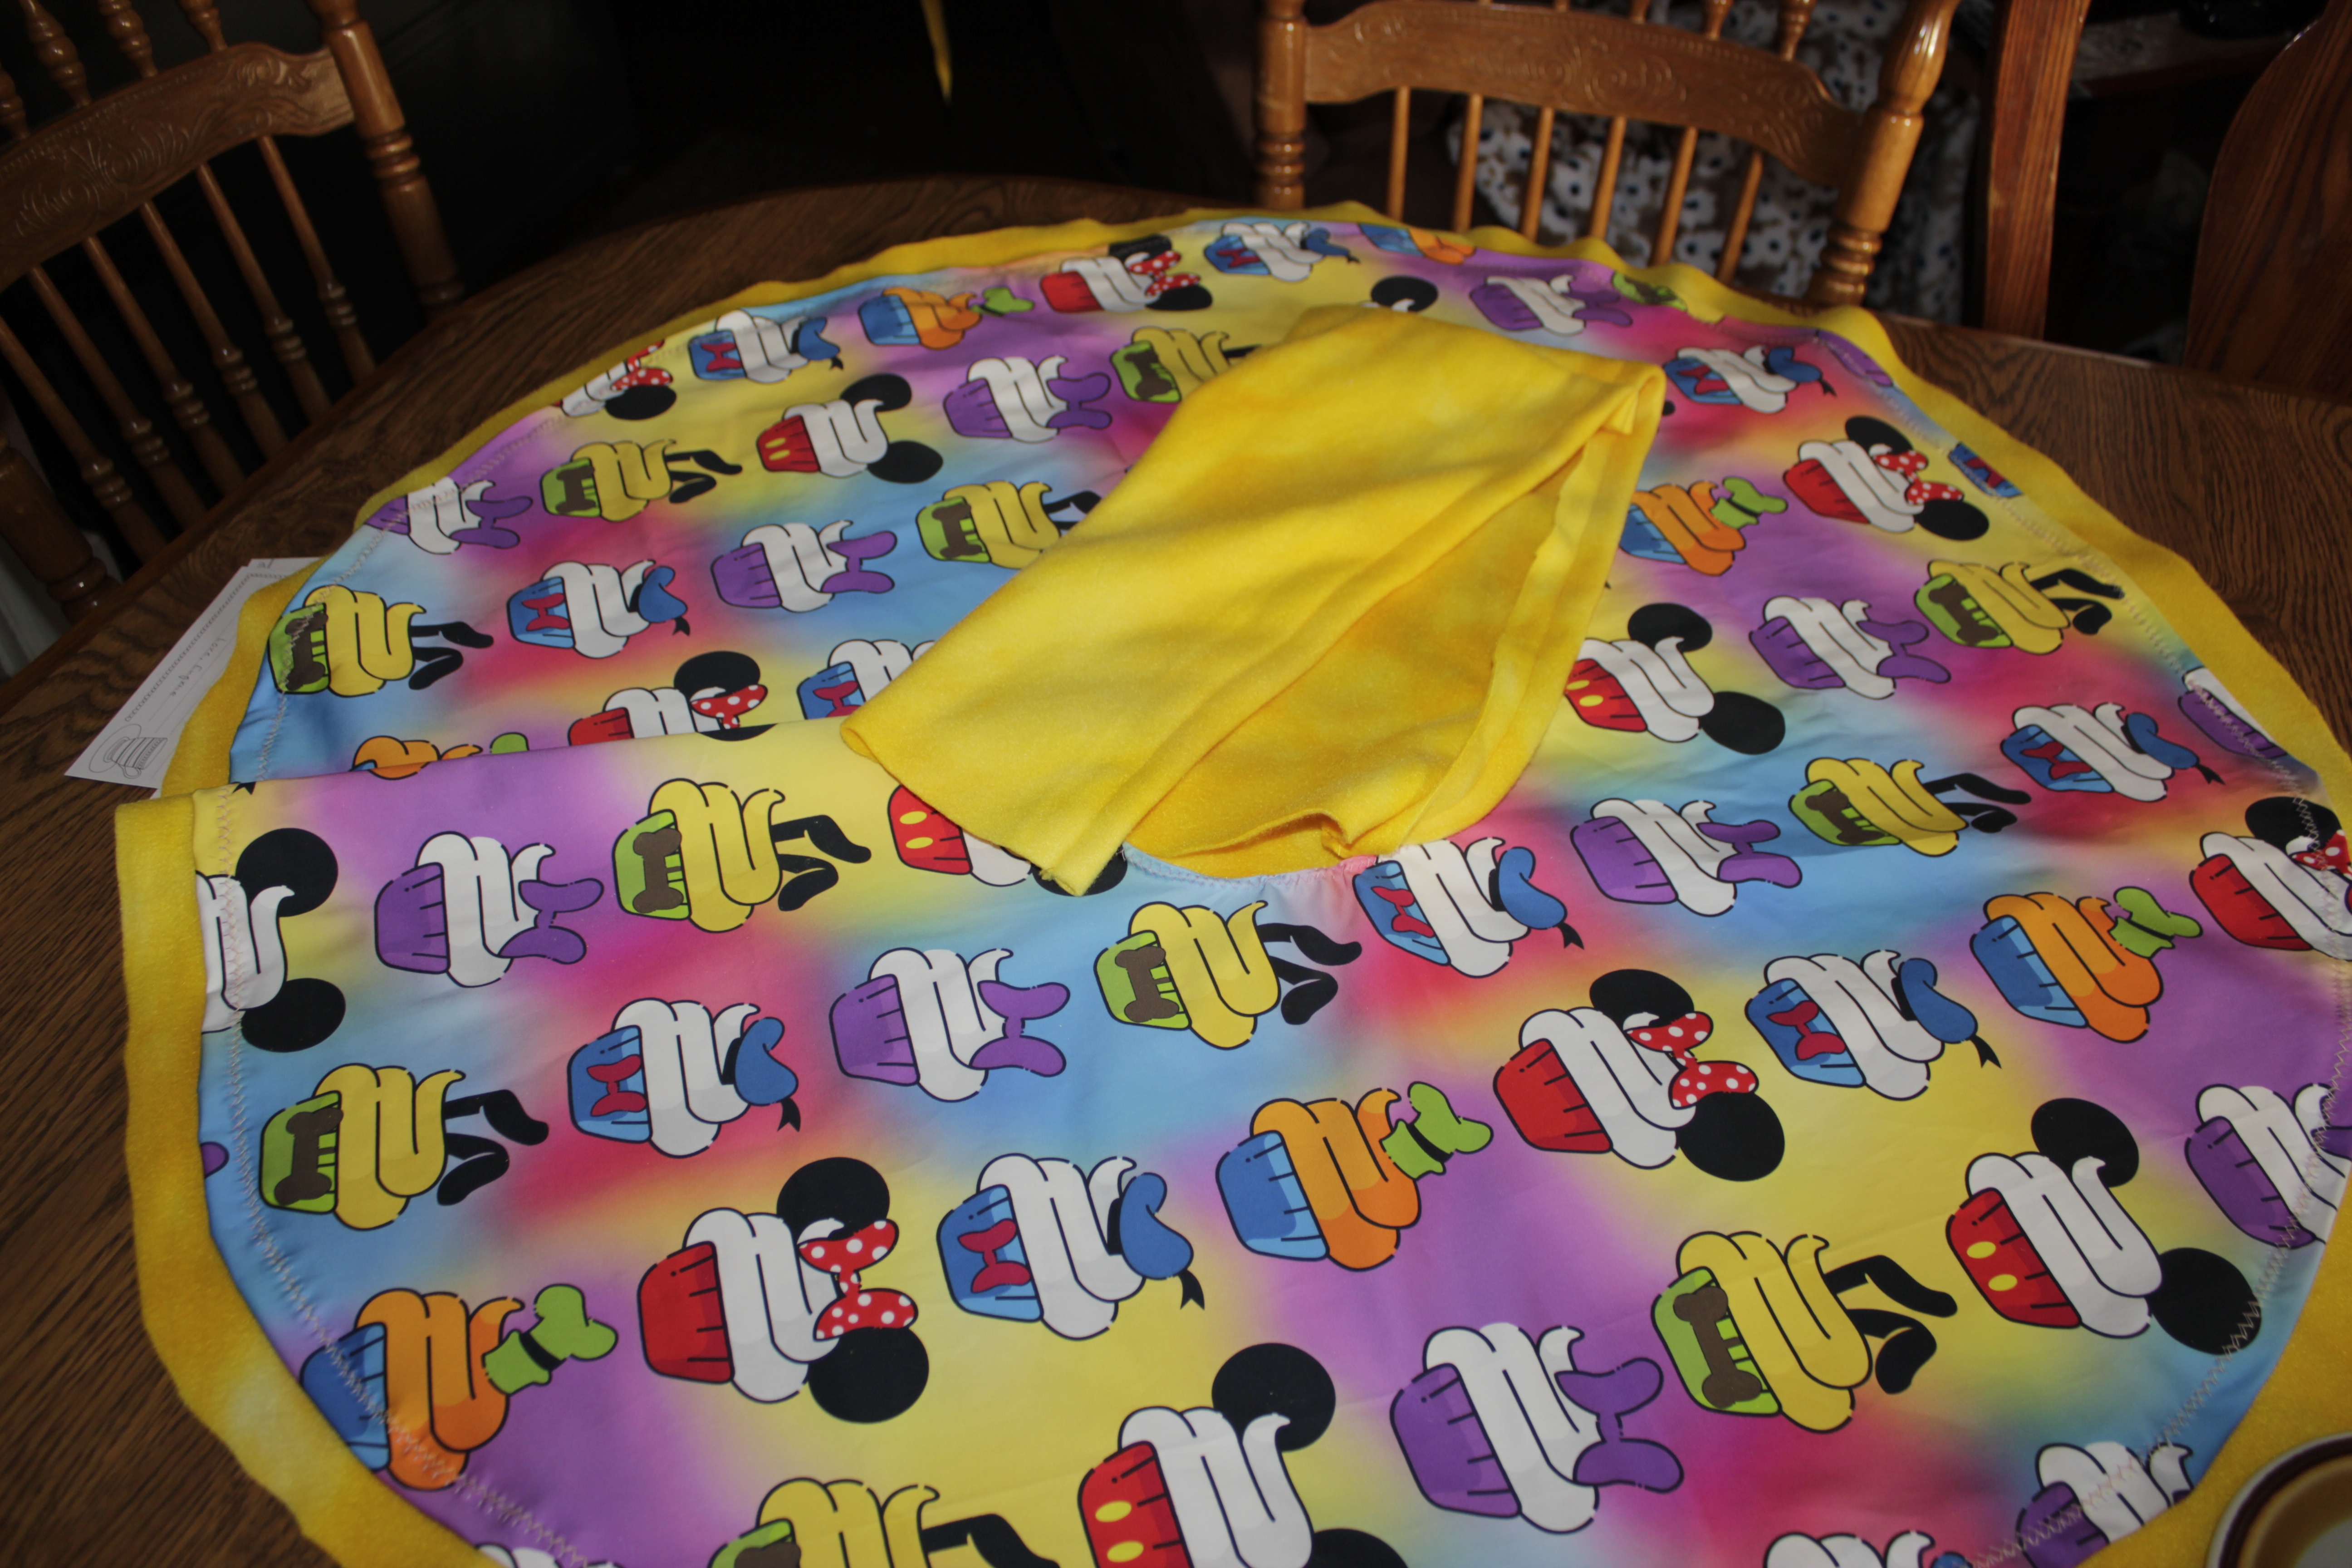
Place the hemmed circle on the wrong side of the fleece. The pretty sides will be facing out on both sides, with the wrong side sandwiched in between.
![]()

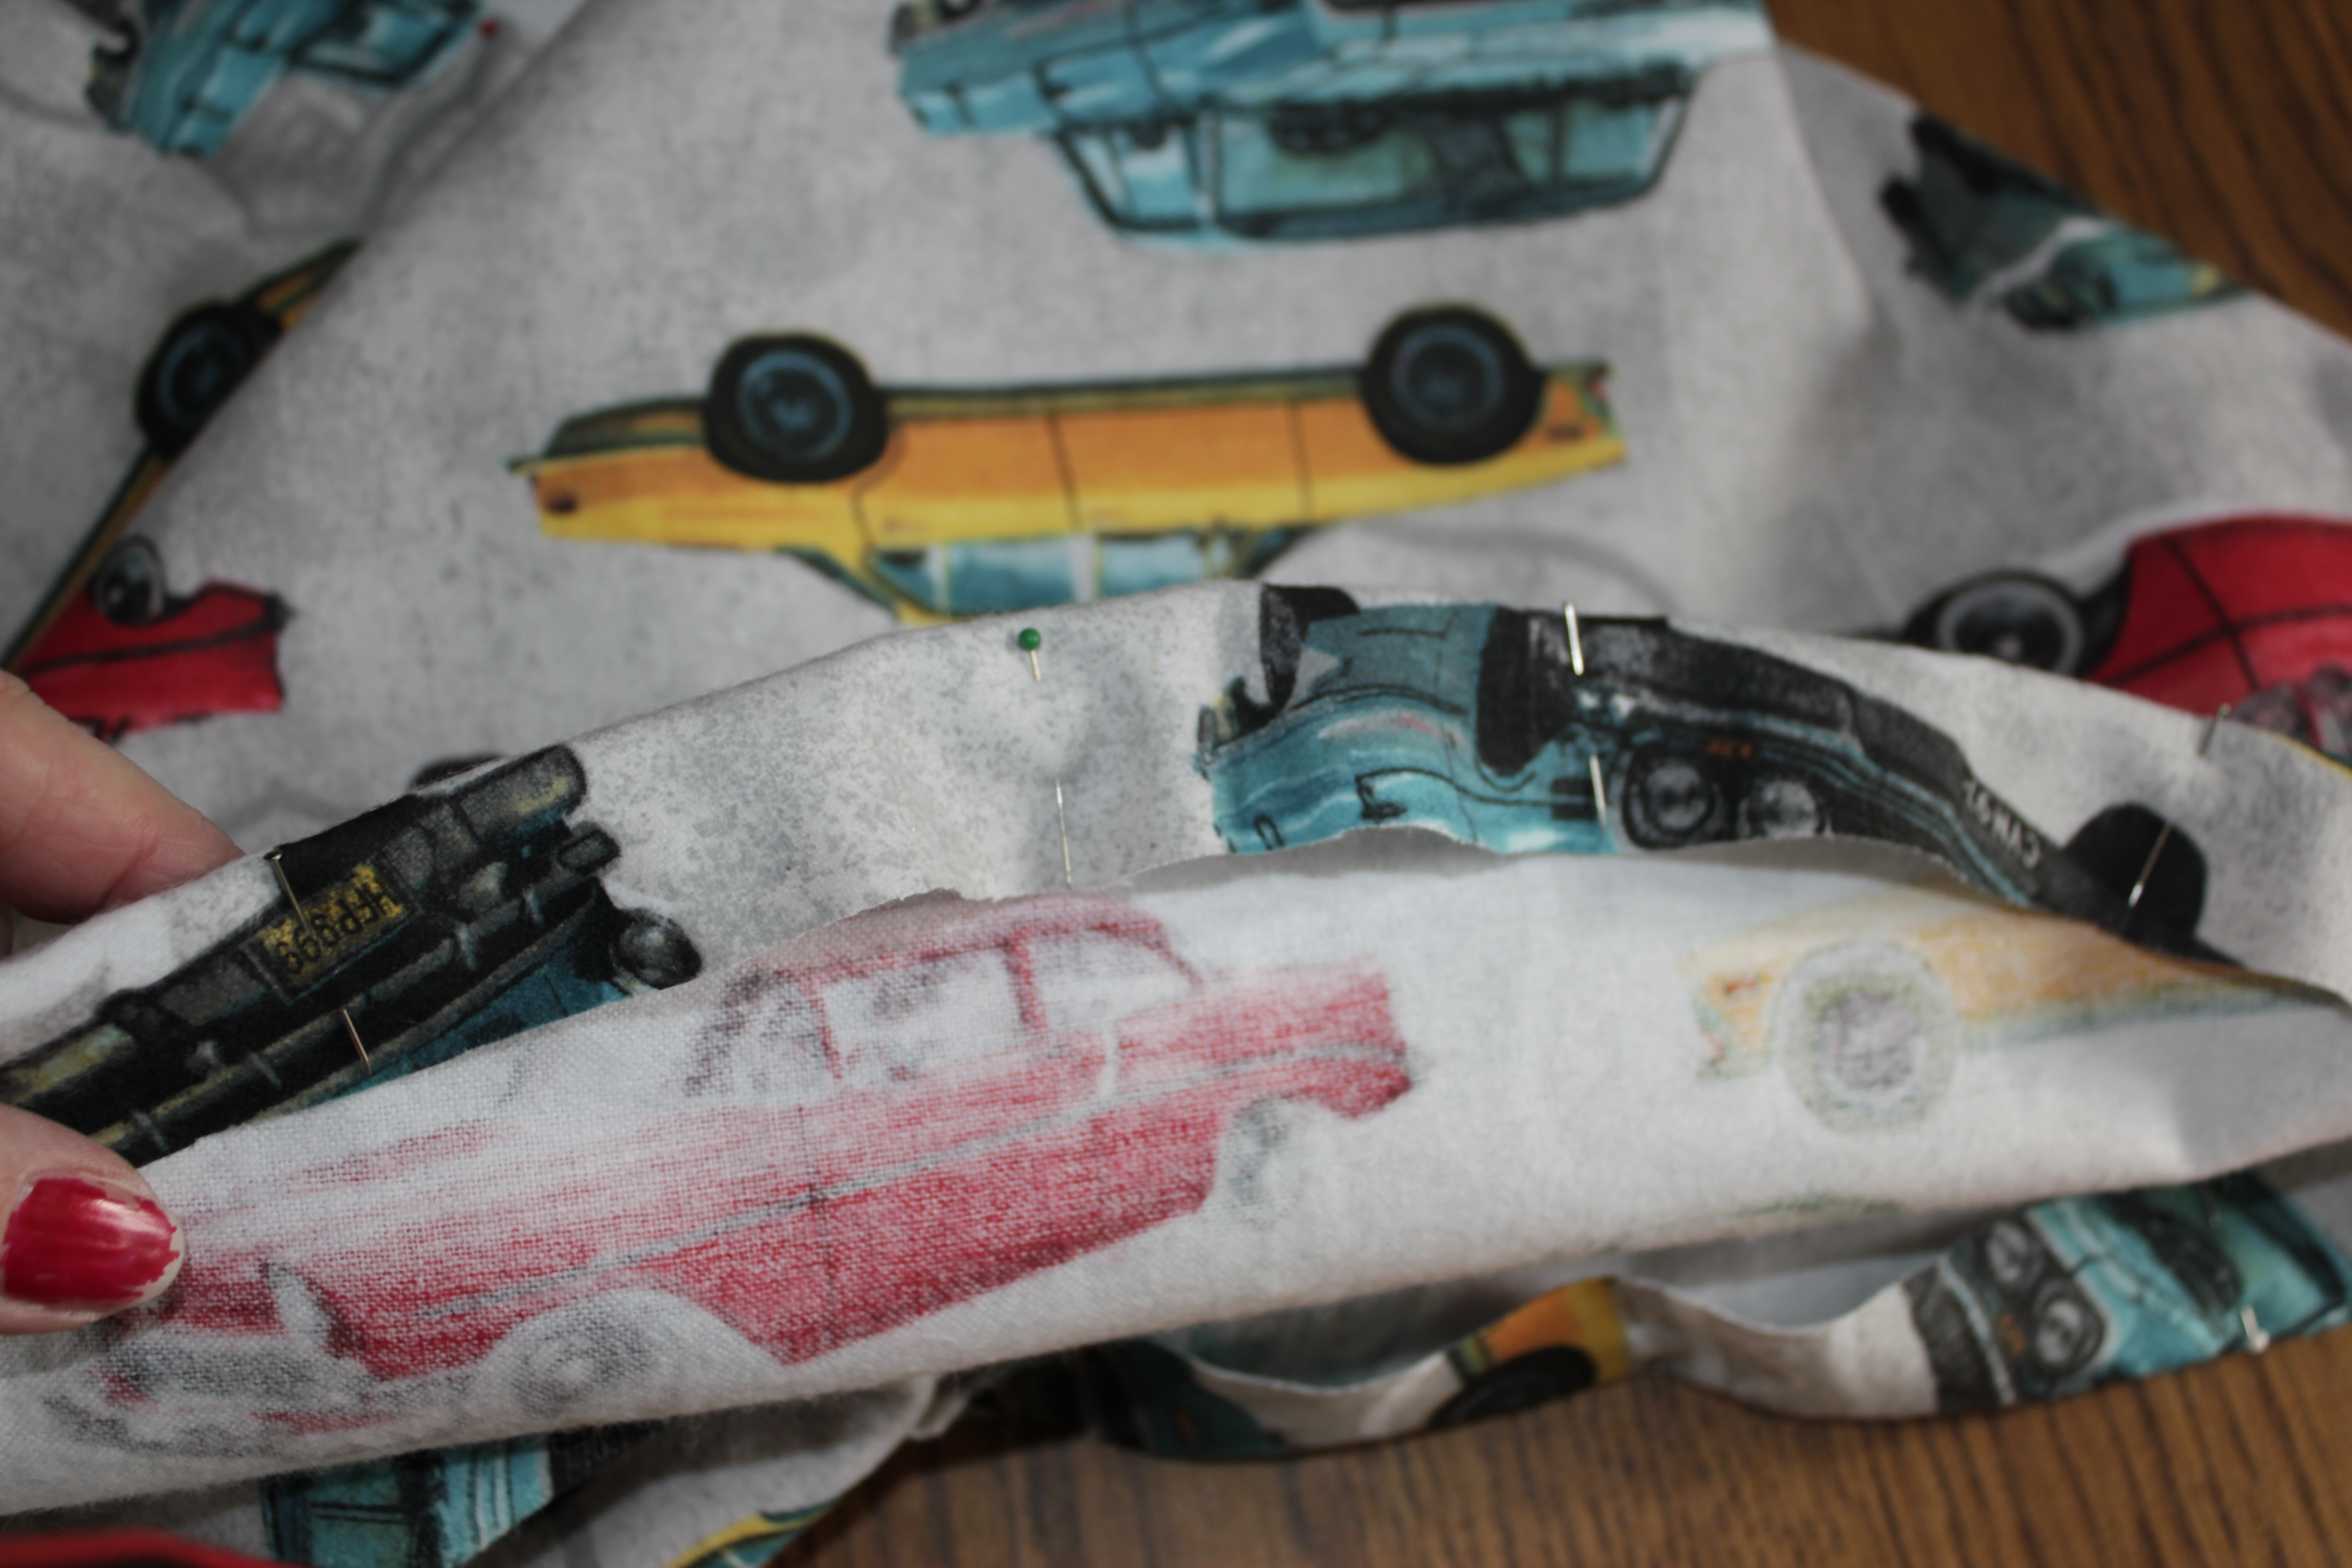
Get it as close to centered as possible and pin in place. Stitch over the outside hem stitches.
Check the back side BEFORE stitching to make sure the fabric is flat!
![]()
Hood
Cut a piece of fleece 18 inches square. I used my handy dandy high-tech yardstick and cut the pattern out of newspaper.
![]()

![]()
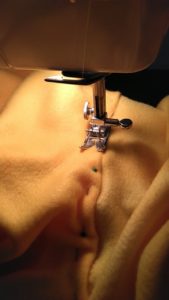
Hem about an inch on each side of the hood.
![]()
Close off one end and turn the![]() hood right side out
hood right side out
Pin the hood to the fabric layer.
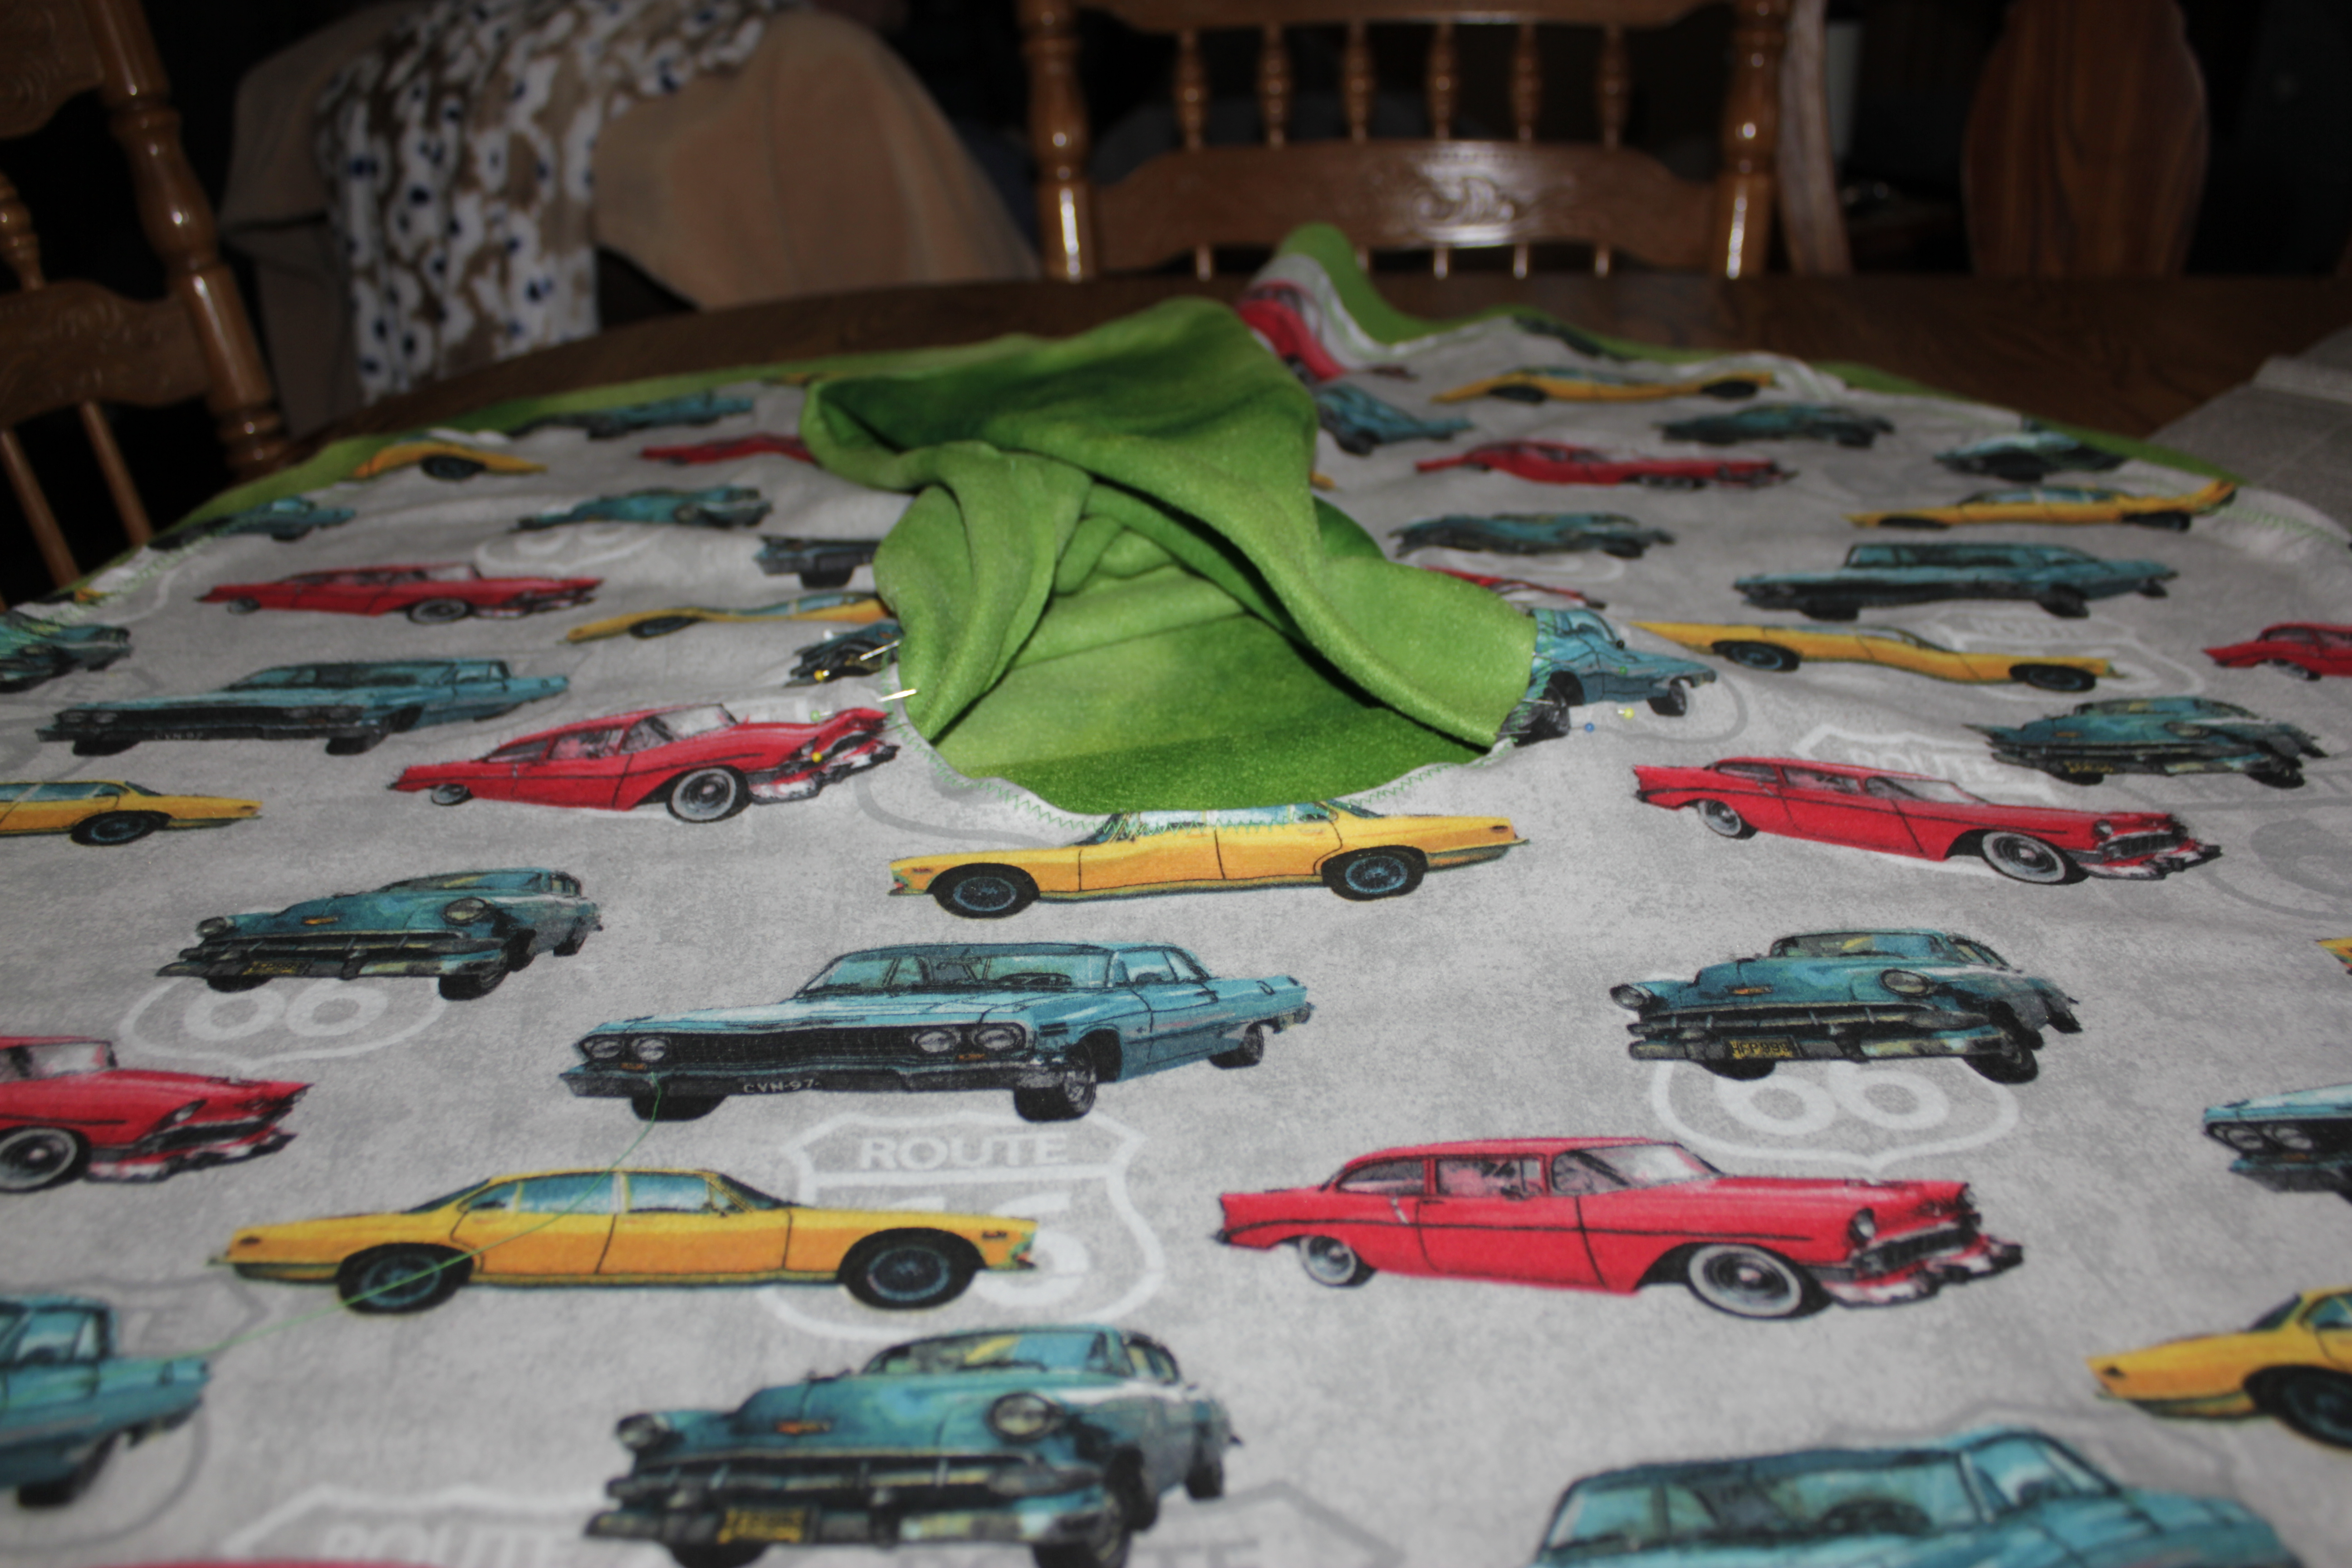
Stitch the hood to the fabric, being careful to not catch the back fleece into the stitching. This is the point where the free arm machine is worth its weight in gold!
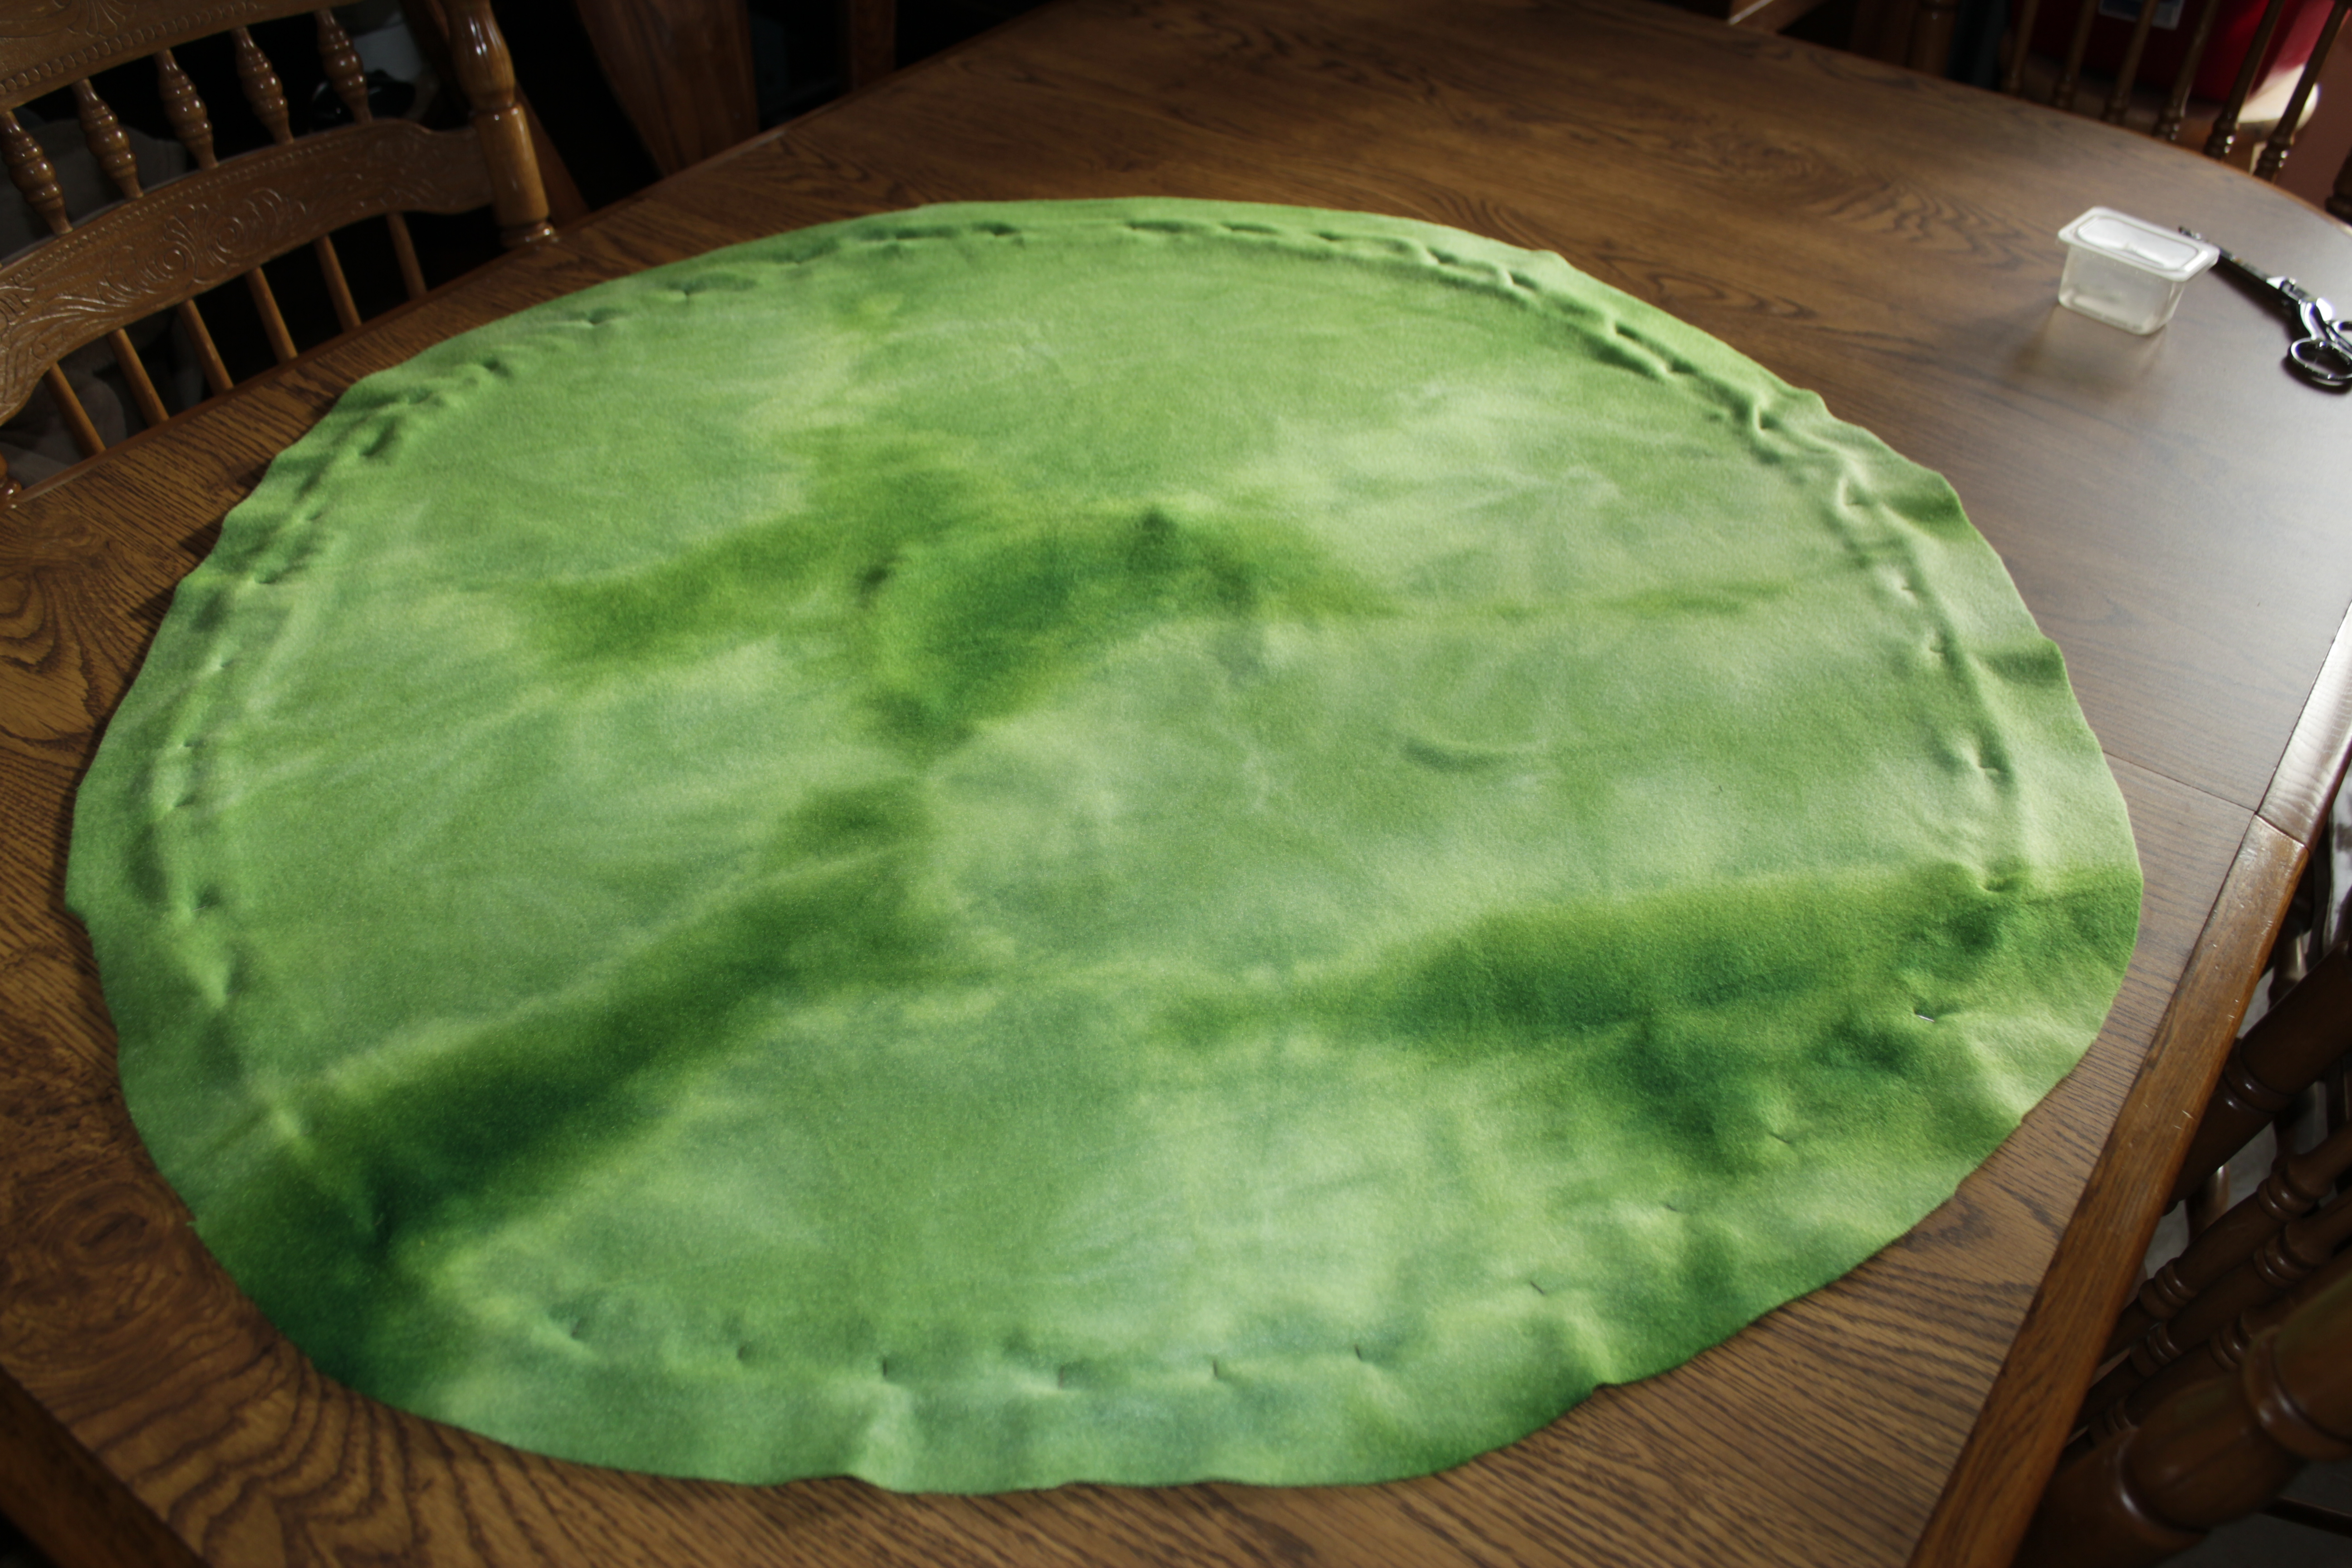
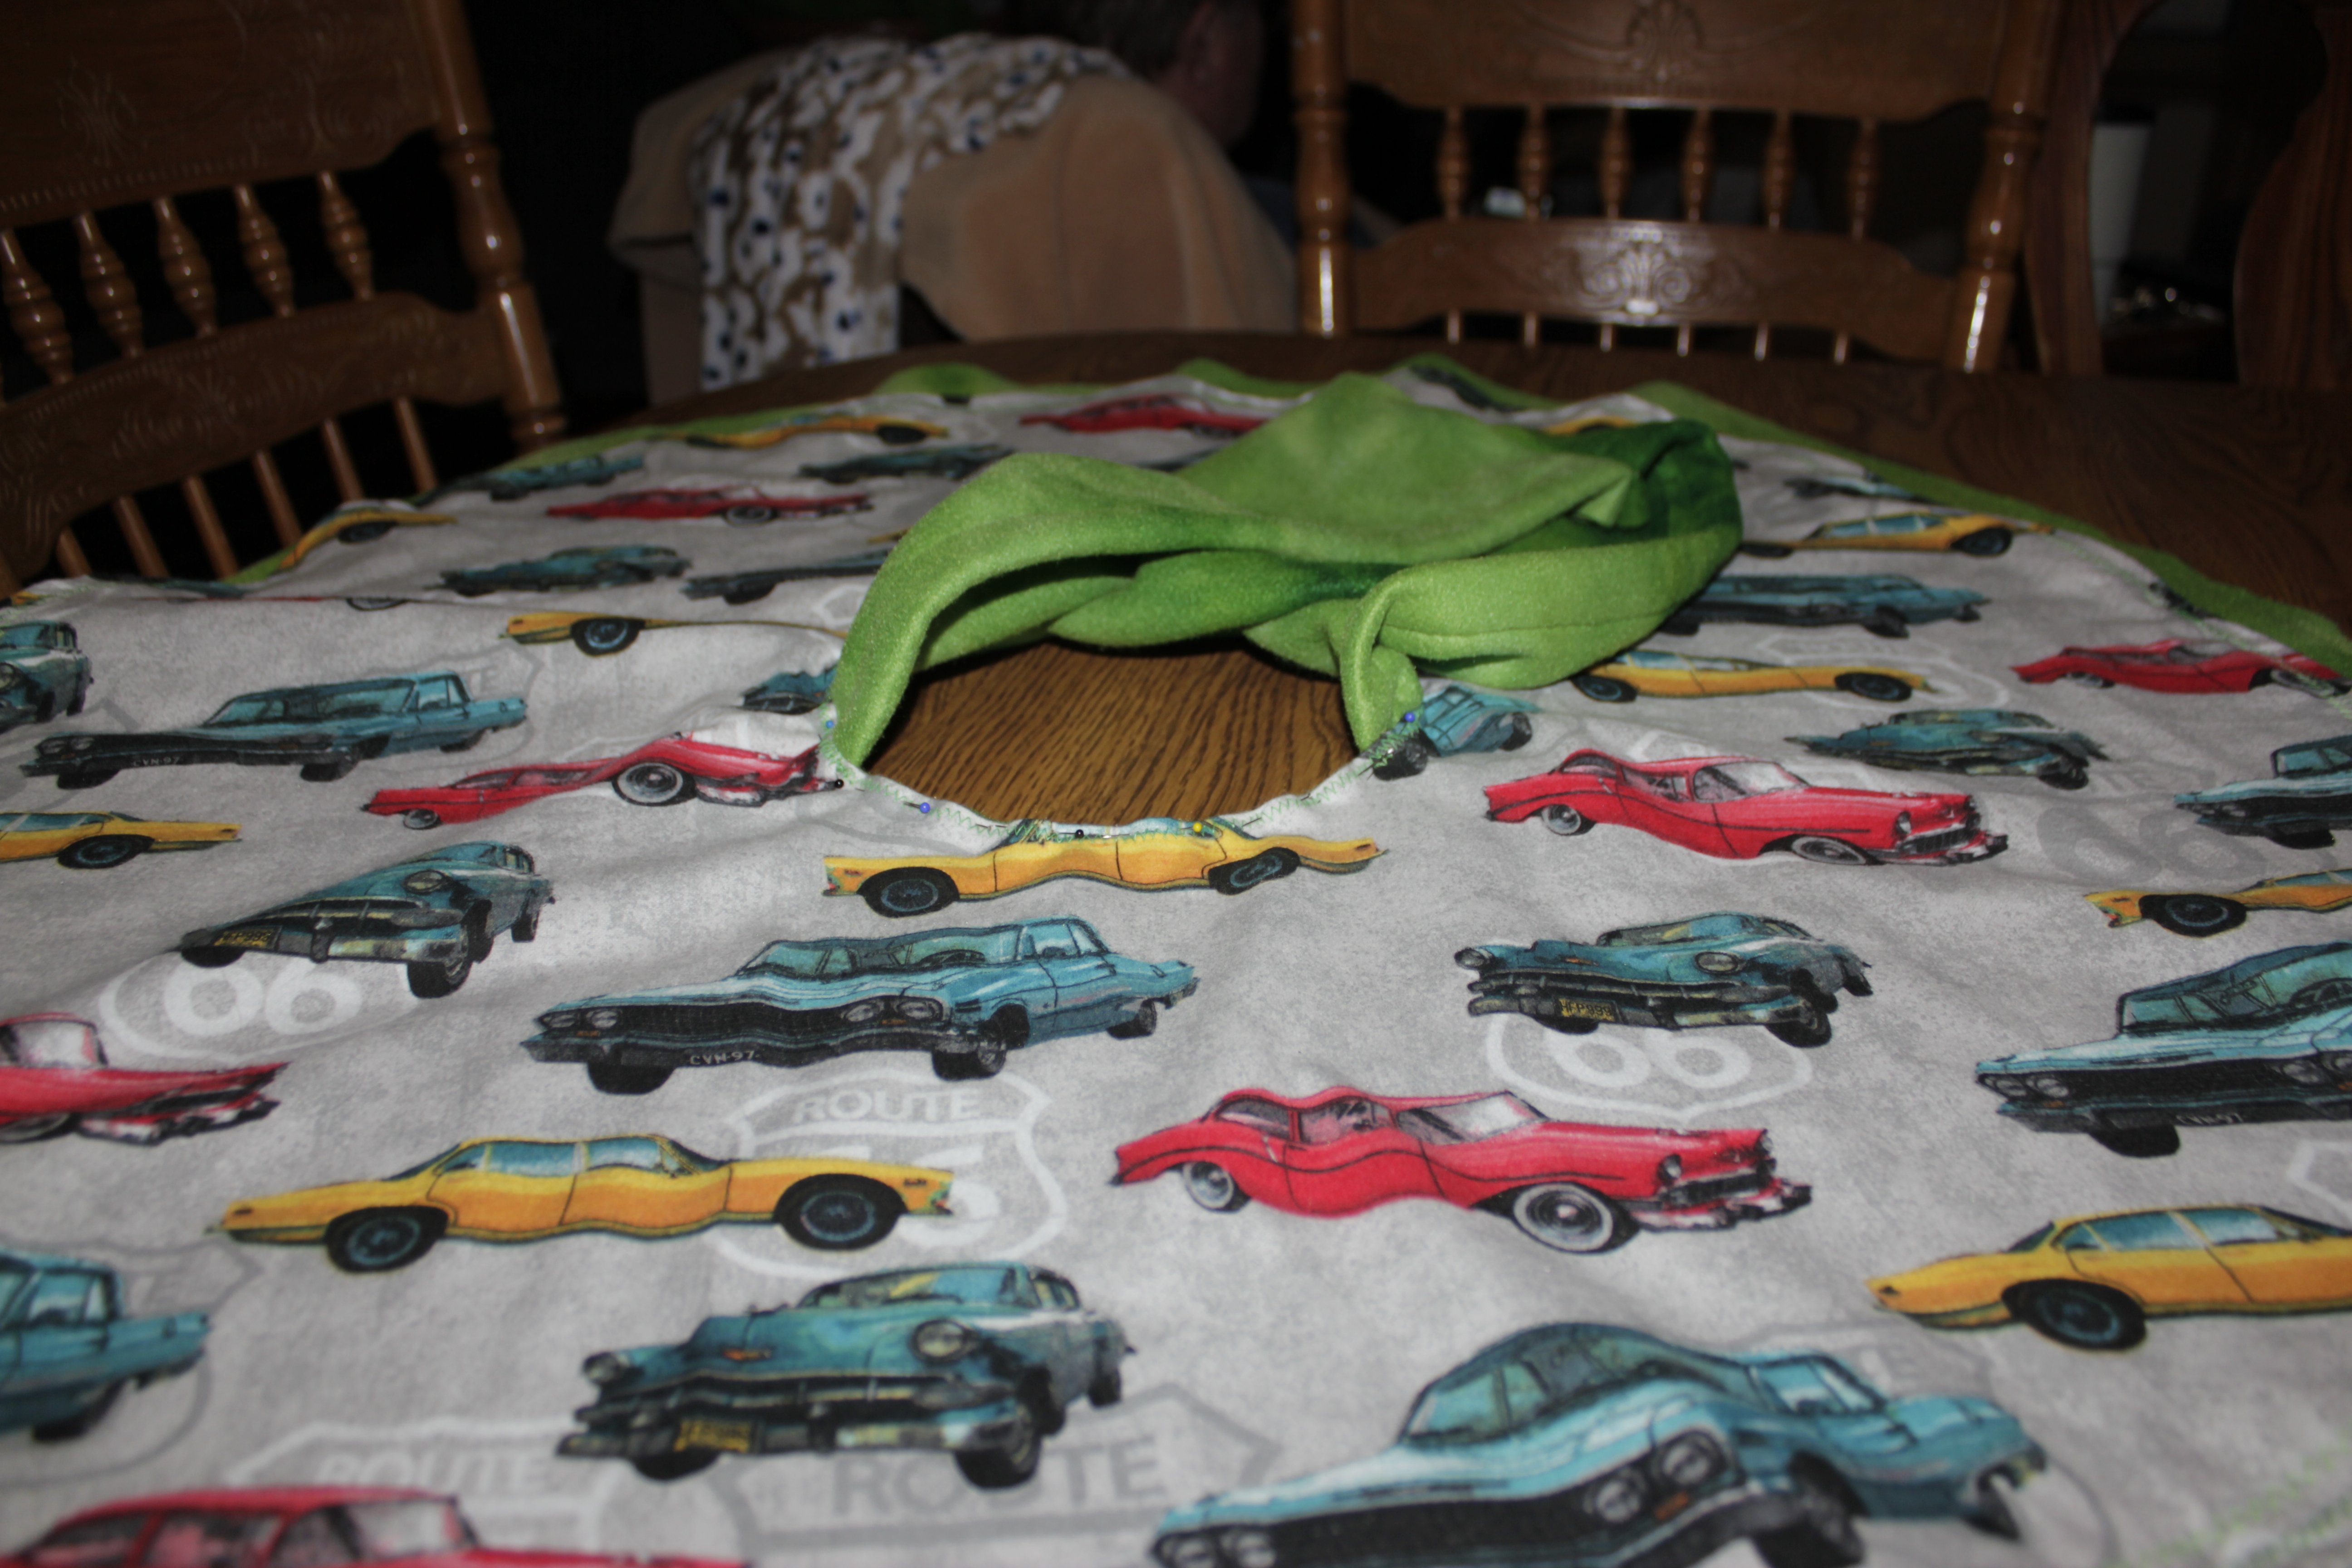
Lay out the poncho and carefully cut the center hole from the fleece. Cut it a little bit larger than the opening because you need enough fabric to turn under for hemming.![]()

![]()
Pin the hem.

![]()
Stitch into place.
Fringe the fleece hem
![]()

![]()

Now baby will be warm and toasty this winter!